
Practical Camping Guide · 12 min read
How to Choose an Insulated Water Bottle
Choose an insulated water bottle by vacuum insulation, size, lid and mouth design, materials and cleaning, with sizing tables for hiking and camping.

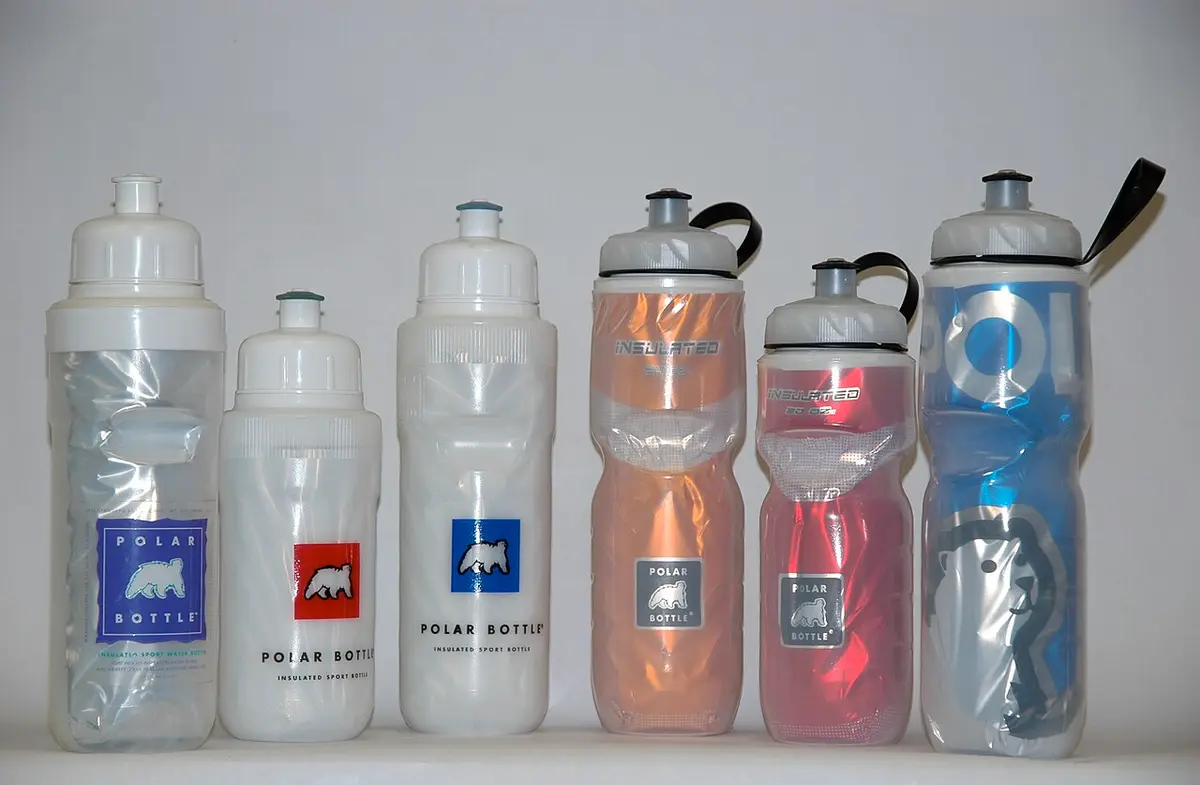
Pick a double-wall, vacuum-insulated stainless steel bottle (18/8 or 304 grade) in a size that matches your longest stretch between refills, usually 24 to 32 ounces for day hikes and 32 to 40 ounces for car camping, with a leak-proof lid, a mouth wide enough for ice and a filter, and a finish that survives drops. Insulated bottles typically keep drinks cold for around 24 hours and hot for 6 to 12 hours under good conditions, but the real numbers depend on the lid, the fill level and the weather. Weight, lid design and cleaning access matter more than a brand name or a color.
A good bottle is one of the few pieces of gear you will use every day for years, so small differences add up. A lid that drips in a pack, a mouth too narrow to clean, or a bottle that sweats on everything inside the bag gets old quickly. This guide explains how insulation works, how to size a bottle for your activity, which lid and mouth styles suit which uses, and how to keep it clean and safe.
How insulation works
A vacuum-insulated bottle has two stainless steel walls with a vacuum between them. Heat moves by conduction, convection and radiation, and a vacuum removes the first two, because there is almost no air to carry heat. A reflective or copper coating on the inner wall reduces radiant heat. What is left is heat flow through the lid, the neck and the thin connection between the walls, which is why the lid design affects performance as much as the body.
| Insulation type | How it works | Typical performance |
|---|---|---|
| Double-wall vacuum (stainless) | Vacuum gap blocks conduction and convection | Cold for about 12 to 24 hours, hot for 6 to 12 hours |
| Double-wall without vacuum (air or foam) | Air or foam layer slows heat | A few hours |
| Single-wall metal | None | Minutes to an hour |
| Foam sleeve or neoprene cover | Thin insulation on the outside | An hour or two |
| Plastic, uninsulated | None | Minutes |
Performance claims on packaging come from lab tests, with the bottle filled with ice or boiling water to a stated level, at a controlled room temperature, with the lid closed. In real use, opening the lid, taking sips, a half-empty bottle and hot weather shorten the times. A rule of thumb: a full bottle of ice water at 90 degrees F loses its ice in about 12 to 24 hours with good insulation, and a half-empty bottle does worse.
Choose the size
Bottle size should match your needs between refills, not an abstract ideal.
| Activity | Suggested bottle size | Notes |
|---|---|---|
| Walk or short hike | 16 to 24 oz | Light and easy to carry |
| Day hike | 24 to 32 oz, plus a second bottle in hot weather | Many hikers drink about half a liter per hour in moderate conditions |
| Hot weather or strenuous hiking | 32 to 40 oz, or two bottles | Plan for more |
| Car camping | 32 to 64 oz | Weight is less important, ice lasts longer in large bottles |
| Kids | 12 to 18 oz | Lighter, easy to hold |
| Cycling | 18 to 24 oz, fits a cage | Check the diameter |
| Backpacking | 1 liter, often with a filter option | Choose weight over insulation |
| Office or travel | 16 to 24 oz | Fits a cup holder |
Larger bottles keep contents cold longer because a bigger volume of ice or water has less surface area per unit of volume, and the wall losses are a smaller share. They also weigh more, and a full 40 ounce bottle weighs about 3 pounds with water. Consider how you will carry it: a side pocket, a bottle holder or a strap. For specific uses, see the best water bottles for hiking and camping, the best water bottles for hiking and travel and the best water bottles for kids. For cyclists, the best bike water bottles and the best bike water bottle holders cover fit and cages.
Lid and mouth design
The lid is the most used and most failure-prone part.
| Lid type | Strengths | Weaknesses |
|---|---|---|
| Screw cap | Leak-proof when tight, simple | Must unscrew to drink |
| Straw lid | Easy sipping, one hand | More parts to clean, can leak if damaged |
| Flip or chug lid | Quick access, large flow | Seals can wear, may leak in a pack |
| Spout or sport cap | Drinks on the go | Smaller opening, slower flow |
| Magnetic or auto-seal | Convenient | More moving parts |
| Handle or carry loop | Easy to hang | Adds weight |
Mouth width. A wide mouth (about 2.5 inches or more) takes ice cubes, makes cleaning easier and lets you add a filter or a drink mix. A narrow mouth is easier to drink from and spills less when you are moving. Many bottles offer interchangeable lids for a wide mouth, so you can switch.
Leak resistance. Check that the lid has a thick silicone gasket and that the thread design pulls tight. Test any new bottle by filling it with water, closing the lid and shaking it upside down over a sink before you trust it in a pack.
Hot drinks. For coffee and tea, choose a lid with a firm seal and a vent, and avoid sealing a bottle with a very hot liquid tightly right away, since pressure builds. Carbonated drinks can pressurize an insulated bottle, so most makers advise against carbonation unless the bottle is designed for it.
Materials and safety
Stainless steel is the standard for insulated bottles. Food-grade 18/8 stainless (also called 304) is common and resists rust and flavor transfer. The lid and gasket use plastics and silicone, which should be BPA-free and food-safe. Check for labels from the maker stating food-grade materials and compliance with relevant standards.
Powder coating or paint on the outside provides grip and color, and wears with use, but it does not affect the inside. A rubber boot protects the base. Inside, a smooth finish makes cleaning easier, and a copper lining is sometimes used for insulation but must not touch the drink.
Do not use a bottle with a damaged inner coating, rust or a deep dent that has cracked the seal on the vacuum. If a bottle's outer shell is dented badly, the vacuum may have been compromised, which you will notice when the outside gets hot or cold quickly.
Weight and durability
Stainless steel is heavy. A 32 ounce insulated bottle may weigh 14 to 20 ounces empty, and a 40 ounce about 1.3 to 1.6 pounds. For backpacking, where every ounce matters, lighter plastic or collapsible bottles may be a better choice, and you can use a thin foam sleeve to protect the drink from the sun. For car camping and day use, the weight is rarely a concern.
Durability depends on wall thickness and construction. Check for a reinforced base, a durable finish and a lid that survives a drop. A scratch or a dent on the outside is cosmetic, but a dent can reduce insulation if it breaks the vacuum seal. Many bottles carry lifetime warranties from their makers, and that is a good indicator of confidence.
Bottles with filters
Some bottles include a filter, either in the lid or in a straw, that lets you drink from streams or taps. These are lighter than a separate filter system and are useful for day hikes. They do not usually include vacuum insulation, since the filter and the insulation add bulk, and filters need a certain flow. If you want to drink from natural sources, see the best water bottles for hiking with a filter. Remember that filters vary in what they remove, and most bottle filters address bacteria and protozoa, not viruses, so check the manufacturer's claims and consider the water source.
Cleaning and care
Wash the bottle regularly. Bacteria and mold grow in the damp, closed space, and drink mixes leave residue.
- Wash the body and the lid after every use with warm water and mild soap, using a bottle brush for the interior and a small brush for the lid and straw.
- Disassemble the lid and clean the gasket, since moisture hides there.
- Rinse thoroughly and let all parts air dry, upside down, with the lid off.
- Deodorize occasionally with a mixture of baking soda and water or diluted white vinegar, left to stand for an hour, then rinsed.
- Check dishwasher safety. Many bottles are top-rack safe, but some finishes and insulated walls can be damaged, so follow the manufacturer's instructions.
- Do not freeze a full bottle, since expanding ice can damage the seal or deform the bottle. Leave room for expansion.
- Replace gaskets when they harden, crack or smell.
Hydration planning for camping
A bottle is part of a larger water plan. How much you drink depends on temperature, activity, altitude and your own body. Many guidelines suggest roughly half a liter per hour for moderate activity and more in heat, and the CDC recommends storing at least a gallon of water per person per day in an emergency supply, which gives a baseline for camp planning. For campsites without taps or running water, see how to camp without running water for how to estimate, store and treat water. For trip planning in general, how to plan a camping trip and what you need for camping put hydration gear on the checklist with everything else.
A practical routine: fill the bottle with ice and water the night before, store it in the shade, refill from a larger container at camp and drink steadily through the day. In hot weather, carry a second bottle so that you never run low, and rinse the bottle at the end of each day.
A worked example: choosing for three different trips
A summer day hike with two adults. The trail is 8 miles round trip in 85 degree weather, and the pair plans to drink about 0.5 liter per hour over five hours, so each needs about 2.5 liters, or roughly 85 ounces for the day. Carrying that much as one bottle is heavy, so each takes a 32 ounce insulated bottle filled with ice and water, plus a 1 liter collapsible reservoir that they refill from a creek with a filter. The insulated bottle stays cold for the whole afternoon, which makes the effort of carrying it worthwhile, and the collapsible container supplies the volume without much weight.
A family car camping weekend. The family has two children, ages seven and ten, and a campsite with a spigot 100 feet away. Each adult takes a 40 ounce insulated bottle, and each child takes an 18 ounce bottle with a straw lid and a loop for carrying. Every morning, the family fills them from the spigot and adds ice from the cooler. The insulated bottles stay cold through the afternoon, and the children drink more because the water tastes good. The wide mouth lets the family add ice and wash the bottles at the spigot each evening.
A cold weather trip. At the end of October, the high is 40 degrees F and the nights drop below freezing. The camper fills a 32 ounce bottle with hot tea before bed and tucks it into the sleeping bag as a warm bottle, then drinks the lukewarm tea in the morning. By the day, the bottle holds warm water for the hike. Because the water might freeze in a pack side pocket, the camper stores the bottle upside down in the pack so that ice forms at the base, not at the mouth, and the lid remains usable. The sealed vacuum bottle with a tight gasket is again the right tool, but only because the lid is leak-proof and the bottle is not filled to the brim.
Across all three, the insulated bottle does something that a cheap plastic one cannot: it keeps its contents at a useful temperature for the whole day, which keeps the water appealing, and that in turn means people drink more of it. In the end, hydration is about behavior, and a bottle that people like to use is an effective safety tool.
Using a bottle in extreme conditions
Heat. A cold bottle in a hot environment will sweat on the outside unless it is double walled. Vacuum bottles do not sweat, so they keep a pack dry. Keep the bottle out of direct sun when possible, and carry it in a side pocket in shade. If you freeze a bottle partly full and top it up with water in the morning, you get cold water all day as the ice melts, but remember to leave room for expansion.
Cold. Vacuum bottles also resist freezing, but a long enough exposure at subzero temperatures will freeze water, especially in the neck and lid, which is the weakest point. Store the bottle upside down, use a wide-mouth lid with an insulated cap and keep it close to your body or inside a jacket.
Altitude. You tend to lose more water at altitude through breathing and dry air, so plan for 25 to 50 percent more water than at sea level. Pressure changes can cause some lids to leak when you ascend or descend rapidly, so loosen the lid slightly or leave a little air at the top.
Travel. On a plane, empty the bottle before security and refill it beyond the checkpoint. In a hot car, avoid leaving a closed bottle with a drink for hours, as the pressure from heat can force the lid.
Budget tiers
Prices vary widely, from a few dollars to over fifty. Higher prices generally buy better insulation, thicker walls, better lids and warranties. A moderately priced bottle from an established maker is usually enough for most campers, and a premium bottle pays off if you use it daily. See the best water bottles under $30 for value picks and the best water bottles under $100 for premium and larger options.
Insulated bottle or something lighter?
Insulation costs weight and money, so ask whether you need it. If your water is cold from a tap or a stream and you drink it within an hour or two, a plain lightweight bottle does the job and saves several ounces. If you want cold water at the end of a hot afternoon, hot tea in the morning or a bottle that does not sweat in your pack, the insulated bottle is worth the extra pounds. Many campers use both: an insulated bottle at camp and in the car, and a light bottle or a collapsible reservoir for the trail, where weight counts.
Common mistakes to avoid
- Choosing the biggest bottle regardless of carry. Weight matters on a hike.
- Skipping the leak test. A leaking bottle ruins a pack.
- Putting carbonated drinks in a regular insulated bottle. Pressure builds.
- Ignoring cleaning. Mold and odors take hold in a closed bottle.
- Freezing a full bottle. It can damage the seal.
- Buying a narrow-mouth bottle that does not fit ice or a brush. Cleaning becomes hard.
- Trusting runtime claims. Real use is shorter than the lab test.
- Using a dented bottle with a broken vacuum. The insulation fails.
Frequently asked questions
How long do insulated water bottles keep drinks cold?
Good double-wall vacuum bottles keep ice water cold for 12 to 24 hours, and some claim more, under controlled conditions. In real use with sips, heat and a half-empty bottle, expect less. A full bottle with ice lasts the longest.
What size insulated bottle is best for hiking?
For day hikes, 24 to 32 ounces covers most needs, with a second bottle or a refill plan for hot weather or long routes. For car camping, 32 to 64 ounces is practical. Consider the weight when full.
Are insulated bottles dishwasher safe?
Many are top-rack safe, but some finishes and vacuum seals can be damaged by high heat and detergents. Follow the manufacturer's instructions. Hand washing is the safest method.
Can I put hot drinks in an insulated bottle?
Yes, with a lid designed for hot liquids. Fill it with care, and do not seal it too tightly with a very hot drink, since pressure builds. Hot drinks stay warm for 6 to 12 hours in a good bottle.
Can I put carbonated drinks in an insulated bottle?
Most makers advise against it, since carbonation creates pressure that can force the lid or damage the seal. Choose a bottle designed for carbonated drinks if you want to use them.
How do I get rid of a smell in my bottle?
Wash with warm soapy water, then soak with baking soda and water or a diluted vinegar solution, rinse well and air dry. Replace gaskets that retain odor.
Sources & further reading
- CDC: How to create and store an emergency water supply
- CDC: How to make water safe in an emergency
- Wikipedia: Vacuum flask
Image credits
- "Polar Bottle® Insulated Bottles" by Tikboodle, CC BY-SA 3.0, via Wikimedia Commons.
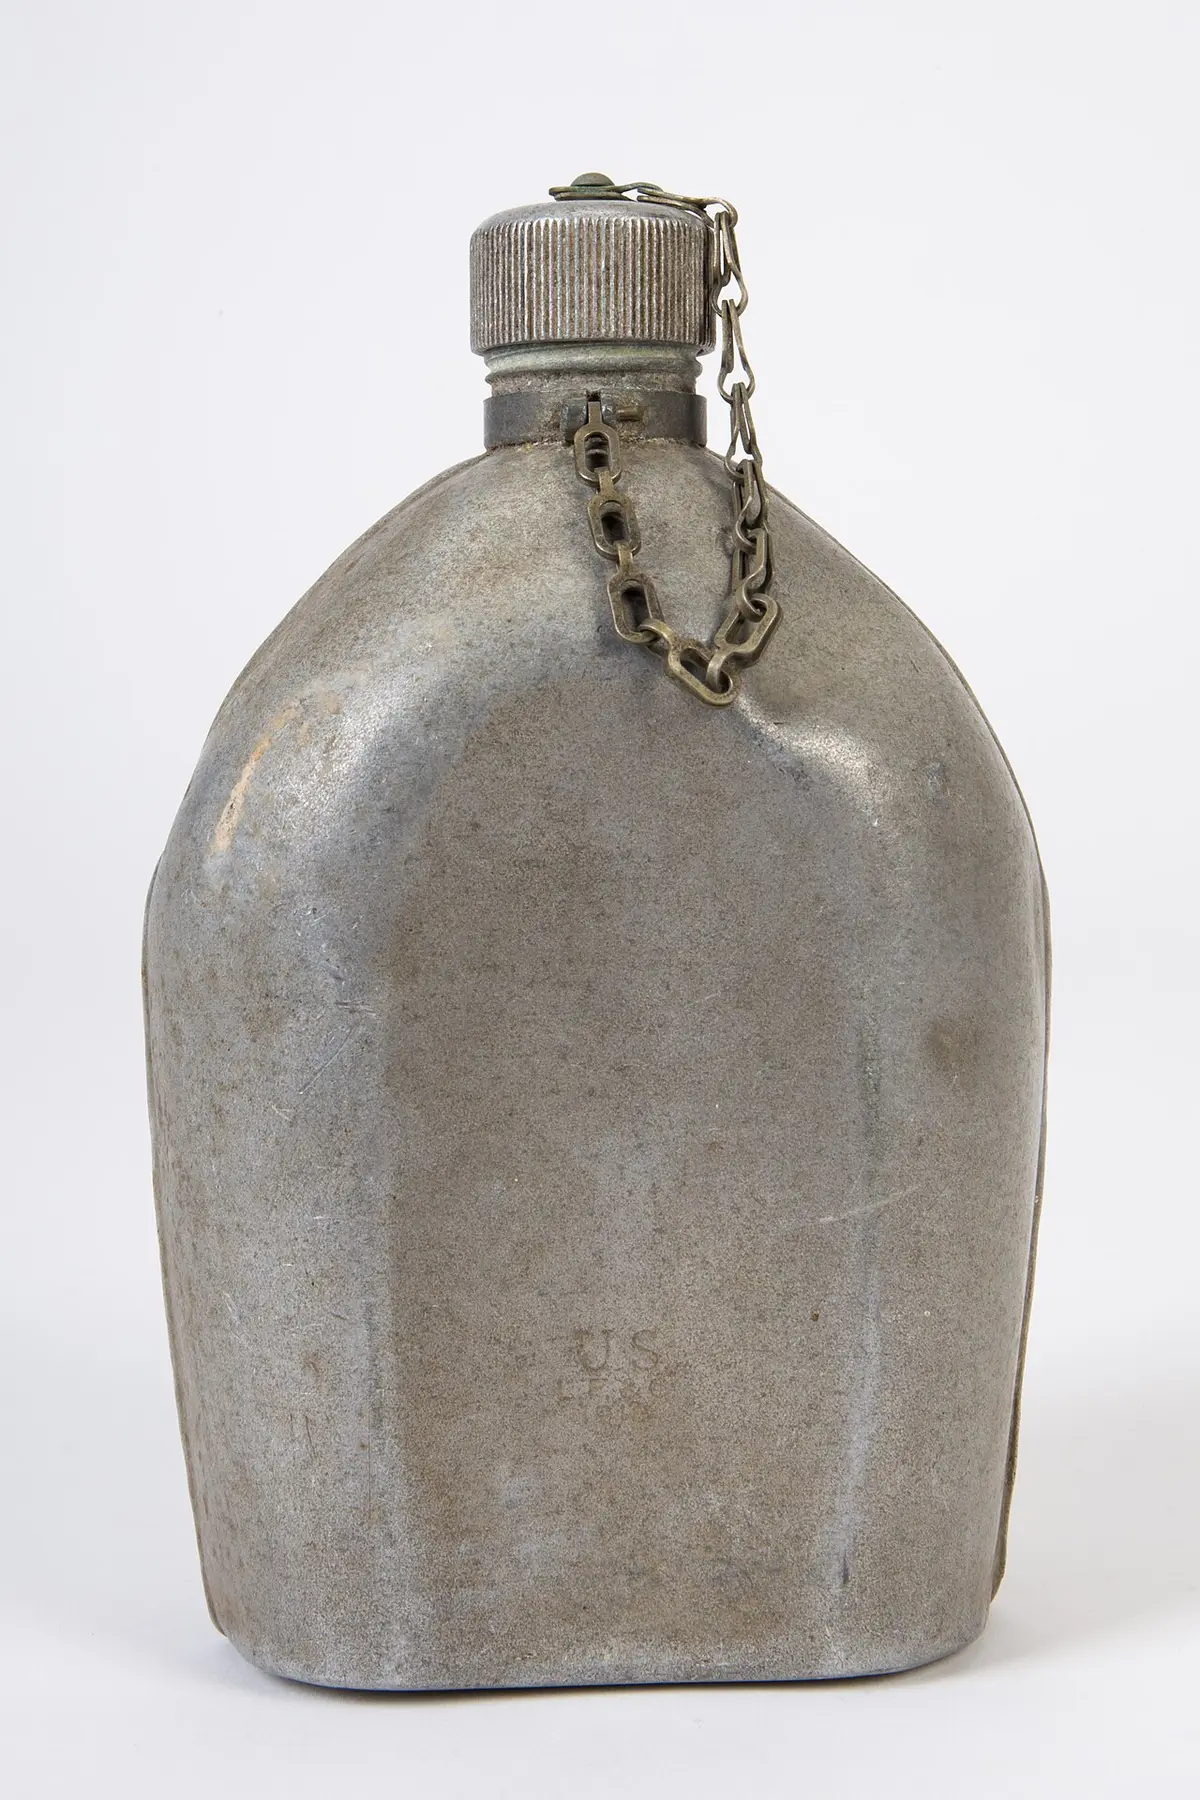
- "Bottle, water (AM 1973.96-1)" by Landers, Frary & Clark, CC BY 4.0, via Wikimedia Commons.


Ready to buy?
Compare the gear: Campsite Gear
5 Best Water Bottle For Hiking And Camping in 2026
Best water bottles for hiking and camping: five trail and camp bottles, from a filtered squeeze bottle to a rugged 1-quart canteen and a 40 oz insulated bottle.
5 Best Water Bottle For Hiking And Travel in 2026
Best water bottles for hiking and travel: five picks from a 140 g collapsible silicone bottle to a 48-hour triple-wall steel bottle, for trail and airport use.
6 Best Water Bottle For Hiking With Filter in 2026
Best water bottles for hiking with a filter: four membrane filter bottles and two taste-only carbon bottles, compared on pore size, testing and refill speed.
5 Best Water Bottle For Kids in 2026
Best water bottles for kids: five insulated and plastic bottles with straw or FreeSip lids, picked for school bags, camping trips and daily use.
5 Best Water Bottle Under 100 in 2026
Best water bottles under $100: five big-capacity picks from a 32 oz Nalgene to a 128 oz jug, none near $100, chosen for camp use and daily hydration.
6 Best Water Bottle Under 30 in 2026
Best water bottles under $30: six insulated and Tritan bottles from about $10 to the low $20s, with chug lids, straws and time markers for camp and trail.
5 Best Bike Water Bottle Holders in 2026
Bike water bottle holders compared: aluminum and lightweight plastic cages, a 2-pack and a handlebar strap holder for road, gravel and touring bikes.
4 Best Bike Water Bottles in 2026
Bike water bottles compared by capacity and valve: 24 oz CamelBak, a 30 oz HydraPak, a GEMFUL 2-pack and a 33 oz ZEFAL for rides of every length.
Keep reading