
Practical Camping Guide · 12 min read
Inflatable Air Tents: How They Work and Who They Suit
How air beam tents work, their wind and setup advantages, and the weight, puncture and pressure issues to weigh before you buy one.

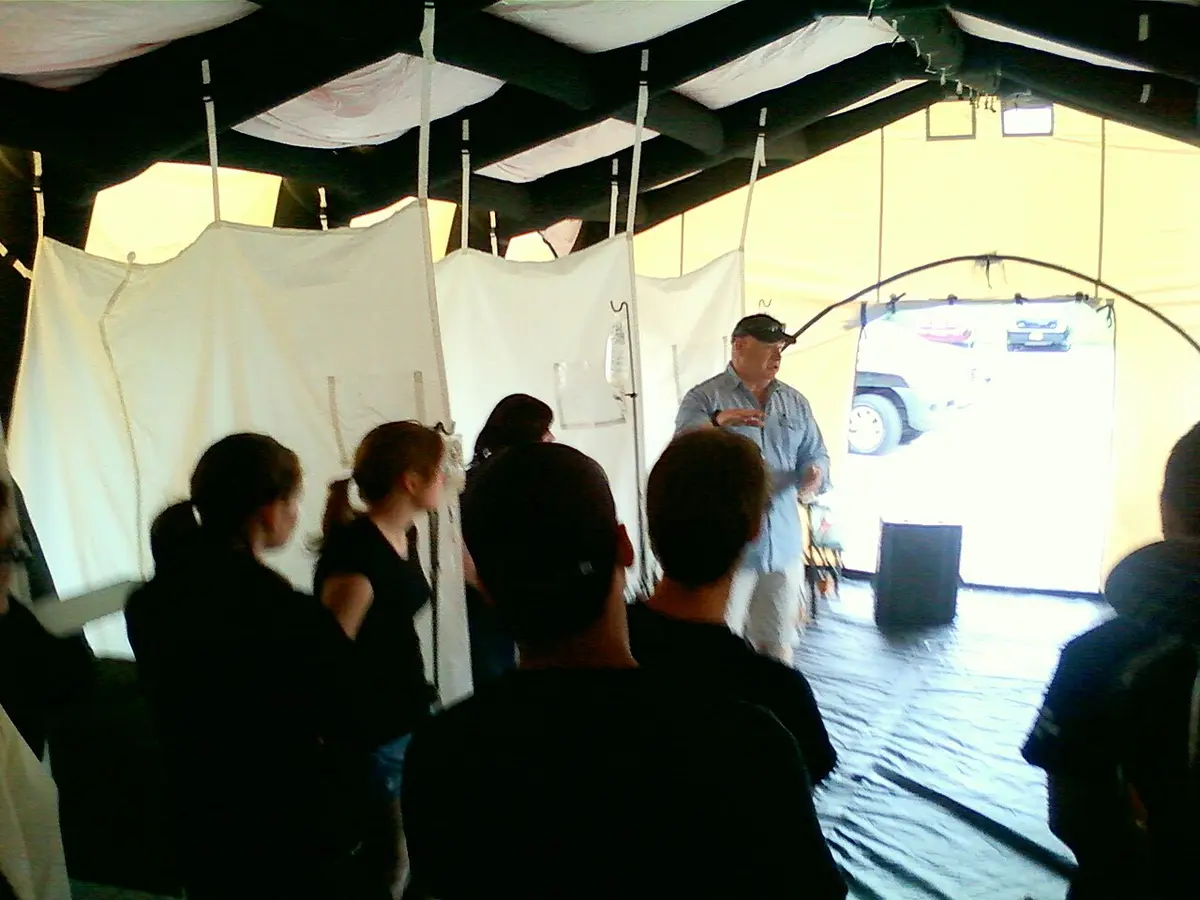
An inflatable air tent replaces rigid poles with air-filled tubes, or "beams," that you pump up in a few minutes. The beams form the frame, the fabric hangs from them, and a handful of stakes and guylines hold the shape. Air tents suit families who value fast, low-effort setup and wind stability at a campground. They cost more than pole tents, weigh more, and need a pump and a patch kit when something goes wrong.
The pitch is simple, but the details are not. Air beams behave differently from poles in wind, cold and heat, and they fail differently when damaged. This guide explains the structure, the real advantages and drawbacks, the pressure and weight figures that matter, and which buyers should consider one or skip it.
How an air beam frame works
An air tent frame is a set of inflatable tubes, usually made from a thermoplastic polyurethane (TPU) bladder inside a tough polyester or nylon sleeve. Each beam has a valve, and on many tents the beams connect through a manifold so you inflate several with one pump connection. When inflated to the rated pressure, typically 7 to 10 psi (about 0.5 to 0.7 bar) for family models and sometimes higher for expedition designs, the tubes are rigid enough to hold fabric taut.
The shape is a set of arches that carry the roof, with the fabric stretched between them. Because the beams are fat and flexible compared with narrow poles, wind loads distribute along the arch instead of focusing on a few thin points. That is the basis of the usual claim that air tents resist wind. They also return to shape after bending, where a stressed pole may snap.
Setup: speed and effort
Setup is the main selling point. You lay out the tent, peg the corners, connect the pump and inflate the beams, usually in 5 to 15 minutes for a family model. The pump is a hand or foot pump, or an electric pump that runs from a car 12V outlet or a portable power station. A manifold system can cut the number of valve connections to one or two. You then peg the guylines and attach the fly, if separate.
Packing is straightforward too. Release the valves, roll the tent from the far end, and compress it into a large bag. Air tents are bulky even when deflated, because the bladders and sleeves take space. Plan for a duffel the size of a large cooler for a 6-person model. For basic technique that applies to any tent, see how to set up a tent.
The real advantages
Speed and ease. One adult can pitch a large tent that would take two or three people with poles. There is no threading, no clipping and no pole-snapping. This matters for older campers, parents with children and solo travelers.
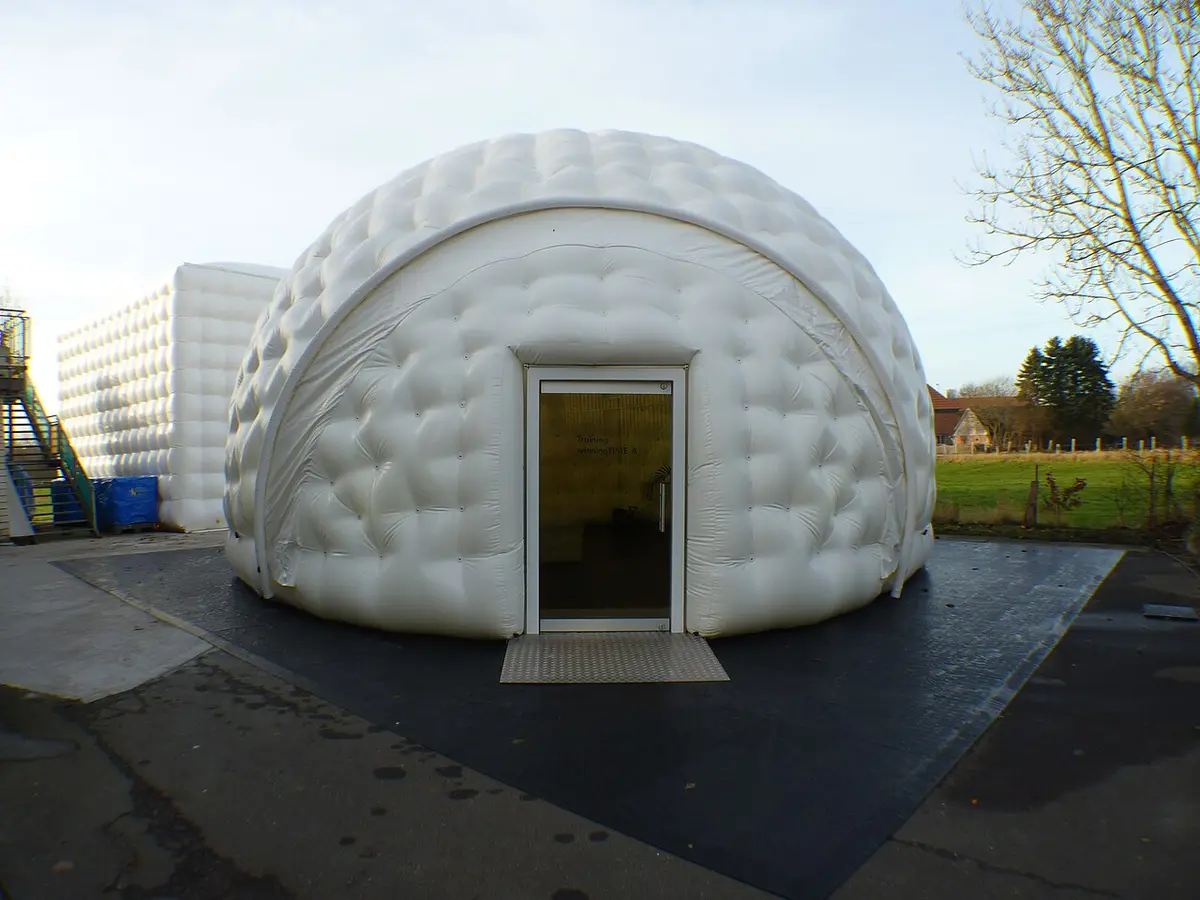
Wind behavior. In a gust, an air beam flexes and springs back, and the arched shape sheds wind effectively. Several manufacturers rate models for winds of 50 mph or more with proper guying. The listings of the best inflatable tents for high winds emphasize this strength. It is worth noting that every claim assumes all guylines are staked out.
Space and comfort. Without cross-poles, the interior has a more open volume, and the walls can be steeper. Many designs add a porch or an awning supported by additional beams. Check the best inflatable tents with a porch for models that add a covered entry.
Repair simplicity in the field. A small puncture in a beam is repaired with a patch, the same way as a bicycle tube. Most tents have separate tubes, so a single failure does not collapse the whole structure if the design is well-split, and you can often finish a trip with one deflated beam.
The real drawbacks
Cost. Air tents usually cost two to four times as much as pole tents of the same floor area. Budget options exist, such as the best inflatable tents under $200, under $300 and under $500, but quality at the low end varies.
Weight and bulk. A 6-person air tent often weighs 30 to 60 pounds, noticeably more than a traditional dome. The bulky roll is harder to carry and to fit into a small trunk.
Punctures and valve failures. Sharp stakes, rocks, thorns and rough handling can puncture a beam. A poorly seated valve leaks slowly overnight, and you wake to a sagging tent. Carry a patch kit, spare valve cores and a pump, and check the pressure each evening.
Temperature effects. Air expands in heat and contracts in cold. A tent pumped at noon in the sun can over-pressurize by evening, and a tent inflated on a warm afternoon can sag at night. You should check pressure after temperature swings and adjust. Over-inflation is a bigger hazard than under-inflation because a beam can burst or a seam can fail.
Pressure, temperature and the numbers that matter
Beam pressure is stated by the maker, usually between 5 and 10 psi for family tents. A simple gauge on your pump helps you hit the number. As a rule, the air in a sealed container changes pressure by roughly 1 percent for every 5 degrees Fahrenheit of temperature change, near room temperature. A 30 degree drop from afternoon to night can reduce pressure by around 6 percent, which is noticeable at 7 psi but rarely critical unless you started low.
Do not exceed the maximum pressure printed on the beam label. In hot weather, release a little air if the tent sits in direct sun. In cold, top up the beams in the evening. If a beam goes soft overnight and is not warmer or colder than the day, you have a leak. A bucket of soapy water brushed over the valve and seams reveals bubbles at the leak point.
Winter and stove use
Some air tents are rated for four-season use and carry reinforced beams, heavy fabric and a stove jack. They shed snow well because of the arched profile, and the thick beams add a layer of insulation. Cold affects the bladders, though: TPU stiffens and loses flexibility at low temperatures, and cheap plastics can crack. If you plan to camp in freezing weather, choose a model with a stated low-temperature rating. The best inflatable tents for winter camping and the best inflatable tents with a stove jack lists cover these.
Heating needs care. Any stove in a tent requires a heat-proof stove jack, a safe clearance from the fabric and a carbon monoxide alarm. Never use an unvented heater, and never leave a stove burning while you sleep.
Who should buy one
An inflatable tent suits a specific buyer. Think of a family with a car, a love of campgrounds and no wish to wrestle poles. Think of a couple who camp in windy places such as lakeshores and coasts. Think of an older camper who finds pole setup strenuous. For these people, the extra cost buys a real benefit.
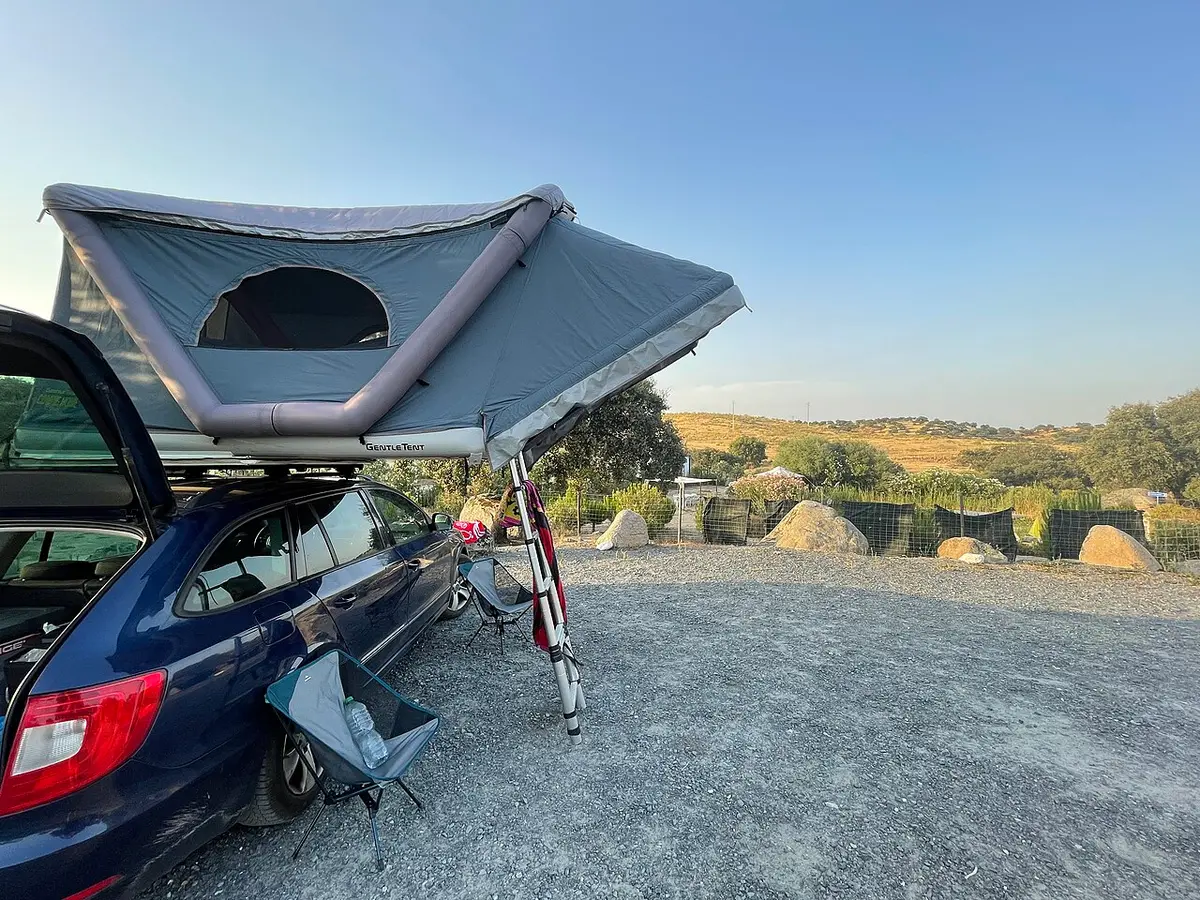
They are a poorer fit for backpackers, cyclists, people with small vehicles, and anyone who camps rough in thorny brush or rocky ground. A conventional dome or tunnel tent weighs far less and works with no extra equipment. Anyone on a tight budget will often get more tent for the money with poles.
Air tent versus pole tent, side by side
| Question | Air tent | Pole tent |
|---|---|---|
| Typical setup, family size | 5 to 15 min, one person | 10 to 30 min, two people |
| Weight, 6 person | 30 to 60 lb | 15 to 30 lb |
| Wind handling | Flexible, springs back, needs all guylines | Depends on pole geometry and material |
| Field repair | Patch kit, spare valve | Pole sleeve, spare section |
| Failure mode | Slow leak, sagging beams | Snapped pole, torn sleeve |
| Price, same floor | Two to four times higher | Baseline |
| Best for | Campground families, windy sites | Backpacking, budgets, rough ground |
Beyond the table, think about what failure looks like at 2 a.m. in a storm. A snapped pole in a conventional tent leaves a flapping, partly collapsed shelter, and you either splint it with a sleeve or give up. A leaking beam in an air tent lets the roof sag gradually, which gives you time to re-inflate with a pump and find the leak in the morning. If the pump is in the car, you can walk to it. In a pole tent, a spare pole section is only useful if you packed it.
Choosing a size and layout
Air tents come in the same size range as pole tents, from 2-person models to 12-person halls. Because the beams are bulky, the smaller sizes have less of an advantage, and a 2- to 4-person air tent weighs a lot compared with a 2- to 4-person backpacking dome. The sweet spot is 5- to 8-person family models, where the speed of setup saves the most effort and the weight is just another part of a car-camping kit. At the high end, the best 10 person inflatable tents hold two rooms with a central living area, though they weigh as much as a small piece of luggage.
Think about the layout of beams as well. A tunnel layout has parallel arches and gives the most interior volume for the weight, but it must be oriented with the end facing the wind. A dome layout with crossing beams is more stable from every direction but offers less headroom at the walls. Some tents add a vestibule, a porch or a connected side room, each with extra beams to inflate. More beams mean more pumping time and more places for a leak, so choose features you will actually use.
A realistic first-trip routine
The first time you use an air tent, treat it like a rehearsal. Inflate it at home on a lawn and note how long each step takes and which valves need which pump nozzle. Inspect the beams for scuffs. Peg every guyline so you learn how many there are and which corners they belong to. Leave it up overnight, and check the pressure the next morning; a drop of more than a pound or so overnight, after allowing for temperature, points to a slow leak that is easy to fix in the yard and a pain in a campground.
At the campsite, clear the pad of sharp debris before laying out the tent, and use a groundsheet slightly smaller than the floor. Inflate the beams in the order the instructions give, because some designs need the main arches filled before the side beams. Stop at the stated pressure; more is not better. Peg guylines before you unpack the car, since it is easier to tension them before the interior is full. In the evening, check the gauge and top up. In the morning, release a little air if the sun is about to hit the tent.
Pack with the same care. Open the valves fully, roll from the closed end to push air out of the beams, and fold the fabric in thirds to protect the sleeves from sharp creases. Tuck the stakes in a separate bag so they cannot poke the bladders. Back at home, set the tent up again to dry it fully, and inspect the beams before storing. This routine turns an air tent from a source of anxiety into one of the easiest shelters to live with.
Care, storage and repair
Air tents need a little more attention than pole tents. Rinse sand and grit from the beams, which can abrade the sleeves. Keep sharp objects away. Dry the tent fully before storing, because the bladder is not a problem but the fabric and seams are. Store the tent loosely, with beams lightly inflated or just rolled flat, and not under heavy objects that could crease the bladder. Do not store in extreme heat, since TPU can degrade.
Cleaning follows the standard approach: a soft sponge, lukewarm water and mild soap. See how to clean a tent without damaging it, how to store a tent the right way and how to waterproof a tent for details that apply to the fabric. Keep a repair kit with patches, glue, a spare valve and a valve wrench.
Buying checklist
- Confirm the beam pressure and whether a gauge is included.
- Check whether the tent includes a pump, and whether it is electric or manual.
- Look for separate beams or isolation valves, so one leak does not collapse everything.
- Read the fabric ratings for the fly and floor; see our guide to tent waterproof ratings.
- Check stake and guyline count; a tent with few guy points will lose its wind advantage.
- Verify the repair kit contents.
- Check the packed weight and size against your vehicle.
- Consider the warranty on the beams and valves.
Safety notes specific to air tents
Air tents have a few risks that pole tents do not. Over-pressurizing a beam is the most serious, because a burst can injure a person standing close to it or tear a seam. Always use a gauge, never top up with a compressor unless the maker states it is safe and you can control the pressure, and release air when the tent sits in strong sun. Do not lean on or sit on an inflated beam, and keep children from using beams as a climbing frame.
Valves are the second concern. A valve that is not fully seated or closed leaks slowly, and an open valve cap lets dirt in. Check each one after inflation by listening and by wetting the valve with a little soapy water. Finally, think about fire: inflatable beams and their sleeves are synthetic and can melt, so keep stoves, lanterns and campfire sparks well away from the tent, and never use an unvented heater inside.
Is an air tent worth it for you?
Ask three questions. First, how often will you camp, and where? An air tent earns its premium when you pitch it many times and value each saved half hour. Second, how do you travel? If the tent rides in a car with room to spare, weight and bulk are small prices. Third, how comfortable are you with a pump and a patch kit? If the thought of finding a slow leak at night sounds stressful, a pole tent may suit you better. If your answers are frequent camping, a car, and a taste for easy setup, an air tent is a good match.
Common mistakes to avoid
- Over-inflating in the heat and stressing seams.
- Skipping the guylines, which erases the wind performance.
- Pitching on thorns, gravel or rocks without a groundsheet.
- Forgetting a pump or repair kit at home.
- Packing the tent wet with the beams fully inflated.
- Buying the cheapest air tent and expecting premium durability.
- Ignoring the low-temperature rating before a winter trip.
Frequently asked questions
Are inflatable tents good in wind?
Yes, when properly guyed. The flexible beams absorb gusts and spring back, and the arches shed wind. They still need every stake and guyline in place. A tent with unpegged lines will flap and can fail like any other.
What happens if an air beam gets a puncture?
You patch it like a bicycle tube. Find the leak with soapy water, dry the area, apply the patch and let the adhesive set. If your tent has independent beams, the structure often remains standing with one deflated. Carry a repair kit on every trip.
Do I need an electric pump?
Not required. A manual pump inflates a family tent in about 10 to 15 minutes, and an electric one in 3 to 5. Electric pumps need a 12V outlet or a power station, so bring the right cable. A manual pump is the dependable backup.
Can I leave an inflatable tent up for a week?
Yes, with daily checks. Temperature swings change the pressure, and sunlight can stress the fabric and bladder. Check the gauge each morning and evening, and adjust. In very hot weather, shade helps.
Are air tents warmer than regular tents?
Slightly, since the thick beams and fabrics add a little insulation, but the difference is small. Warmth depends on the fabric, ventilation, ground pad and sleeping bag. Cold weather also stiffens TPU, so check the manufacturer's range.
How long do inflatable tents last?
With care, many last several seasons, but the beams, valves and seams are wear items. Heavy use, sharp ground and UV shorten the life. Store the tent loosely and dry, and patch punctures promptly.
Sources & further reading
Image credits
- "Img-0061 GlobalMedic trainees receiving instruction in an inflatable field hospital tent -June 2011" by TootsuitMC, CC BY-SA 3.0, via Wikimedia Commons.
- "Airsupported Tent" by Riu2013, CC BY 3.0, via Wikimedia Commons.
- "Aufblasbares Dachzelt" by Annaklar, CC BY-SA 4.0, via Wikimedia Commons.


Ready to buy?
Compare the gear: Tents & Shelter
4 Best Inflatable Tents For High Winds in 2026
Best inflatable tents for high winds compared on air-beam build, fabric weight, guy lines and stated wind claims for exposed campsites.
4 Best Inflatable Tents For Winter Camping in 2026
Best inflatable tents for winter camping compared on stove jack, fabric, air-beam build and honest weather limits for cold trips.
4 Best Inflatable Tents With A Porch in 2026
Best inflatable tents with a porch compared on awning or screen room design, interior size, stove jack and setup for family camping.
4 Best Inflatable Tents With A Stove Jack in 2026
Best inflatable tents with a stove jack compared on jack design, floor size, fabric and weather cautions for heated air-tent camping.
6 Best Inflatable Tents Under 200 in 2026
Best inflatable tents under $200 compared on pump type, floor size and weather rating, for campers who want a poleless air-beam tent at a modest price.
6 Best Inflatable Tents Under 300 in 2026
Best inflatable tents under $300 compared on beam material, stove jack, skylight and fabric weight for campers who want a poleless tent with premium features.
6 Best Inflatable Tents Under 500 in 2026
Best inflatable tents under $500 compared on size, beam material and stove jack, from a 4-person air tent to 8-12 person hot tents with skylights.
6 Best 10 Person Inflatable Tents in 2026
Best 10-person inflatable tents compared on floor size, rooms, stove jacks and setup time for large groups who want a pole-free shelter.
Keep reading