
Practical Camping Guide · 12 min read
How to Choose a Backpacking Tent
A step-by-step guide to picking a backpacking tent by capacity, weight, type, season, ventilation and budget, with weight targets and a test routine.

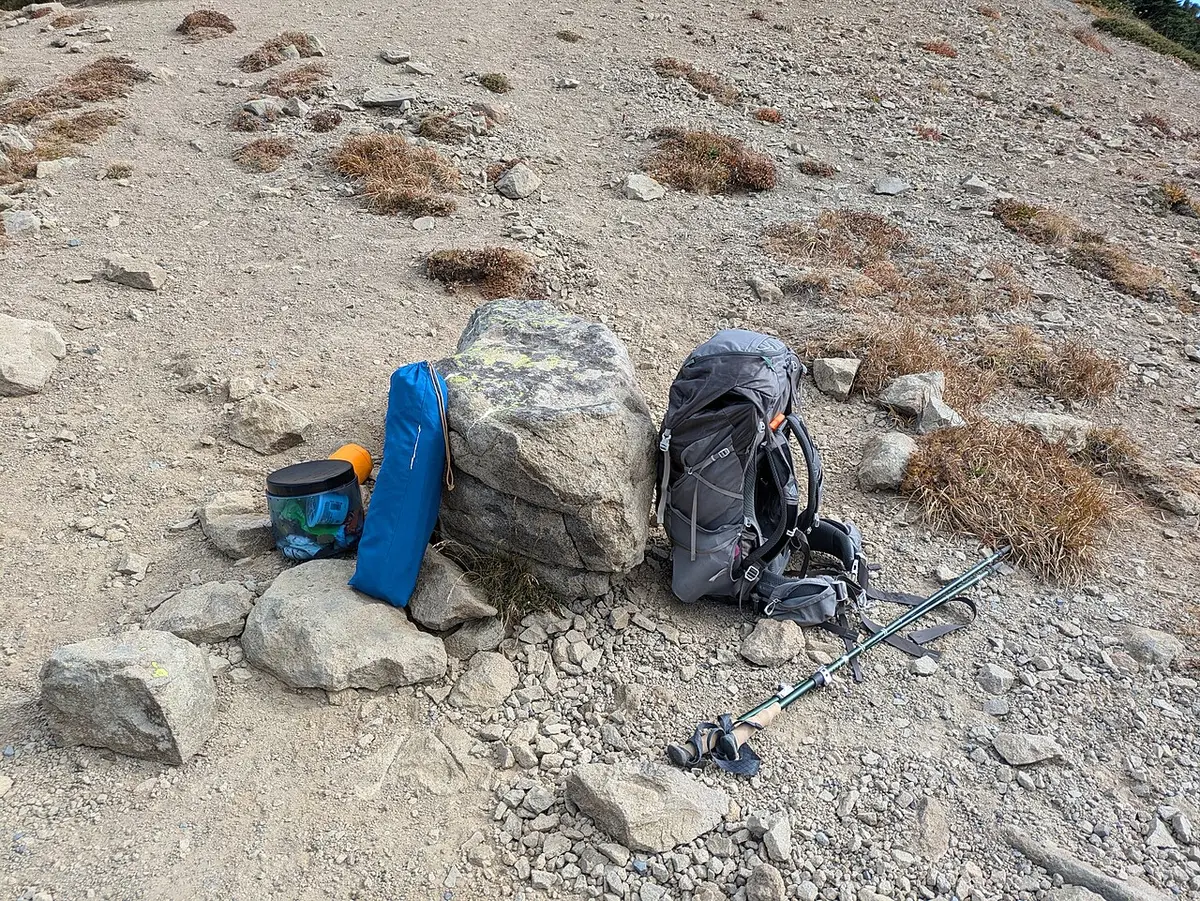
Choose a backpacking tent by working through five questions in order: how many people it must sleep, what weather it must handle, how much weight you will carry, how much livable space you want, and what you can spend. A good 2-person 3-season backpacking tent weighs about 3 to 4 pounds for the trail, costs a few hundred dollars and handles rain and moderate wind. Going lighter saves ounces and costs money, comfort or durability.
The market is crowded with tents that look similar in photos and differ widely in weight, headroom, ventilation and weather performance. The fastest way to a good choice is to decide your constraints first, then compare tents against them. This guide covers capacity, weight targets, tent types, fabric and poles, ventilation, floor and vestibule design, and a simple process for choosing and testing your tent before a trip.
Step one: decide how many people and how much room
Backpacking tents list capacity as 1, 2, 3 or 4 persons, and the numbers are tighter than in car-camping tents. A 2-person tent usually has a floor around 50 inches wide and 84 inches long, enough for two standard pads touching. If you want to sit up comfortably, store a pack inside or share with a partner who moves around, consider the next size up. Many hikers buy a 2-person tent for solo use and a 3-person tent for two, because the extra weight of one pound is worth the room.
Peak height decides whether you can sit up and change clothes. A height around 40 inches allows sitting. Anything under 38 inches means lying down and wriggling. Look at the floor dimensions and the wall shape, not just the number on the label. Our guide to what tent person capacity really means walks through the arithmetic.
Step two: choose a weight target
Weight is the central trade-off in backpacking. Typical ranges for a 2-person tent, counting the tent body, fly and poles, are:
| Category | Trail weight (2-person) | Notes |
|---|---|---|
| Budget traditional | 4.5 to 6 lb | Heavier fabric and poles, lower cost |
| Standard 3-season | 3 to 4.5 lb | Good balance of weight, space and weather |
| Lightweight | 2 to 3 lb | Thinner fabric, careful use, higher price |
| Ultralight | Under 2 lb | Often single-wall or trekking-pole supported |
A common rule is to keep your shelter to a quarter or less of the total base weight, but personal comfort matters more than rules. Split the tent between two hikers: one carries the body and the other the fly and poles, which makes a 4-pound tent feel like a 2-pound load each. Check the packed weight against the trail weight, since stakes, stuff sacks and repair kits add several ounces. The shortlists of the best budget backpacking tents and the best ultralight tents under $100 show how weight and price relate.
Step three: pick a tent type
Freestanding double-wall dome. The classic design: an inner tent of mesh and fabric hung from crossing poles, with a separate fly. It stands without stakes, which helps on rock or platforms, is roomy and handles condensation well. Weight is moderate. This is the best default for most hikers.
Semi-freestanding and non-freestanding tents. These use fewer poles and rely on stakes and guylines to complete the shape. They are lighter, and need soft ground and care. They suit experienced hikers.
Trekking-pole tents. These use your trekking poles as the support, saving the weight of dedicated poles. They are among the lightest options and excel for solo ultralight use, but need staking and a learning curve. If you do not use poles, they do not apply. See the best ultralight trekking pole tents for examples.
Single-wall tents. One layer of waterproof-breathable fabric saves weight and pitches fast, but they condense more in humid weather and need vents.
Bivy sacks. A waterproof bag that covers a sleeping bag, ultralight and minimal. A bivy is a legitimate shelter for fast trips and bad-weather backups, but it offers little space or comfort. See the best bivy sacks for ultralight backpacking.
Step four: weather and season
Match the tent to the worst conditions you expect. Most hikers need a 3-season tent, which has plenty of mesh for ventilation and a fly that sheds rain. If you hike in high winds or in snow, step up to a stronger 3-season-plus or a 4-season design. The differences are covered in 3-season vs 4-season tents. If you hike mostly in dry summer weather, a very light shelter with large mesh panels is a pleasant choice, though it will feel exposed in bad weather.
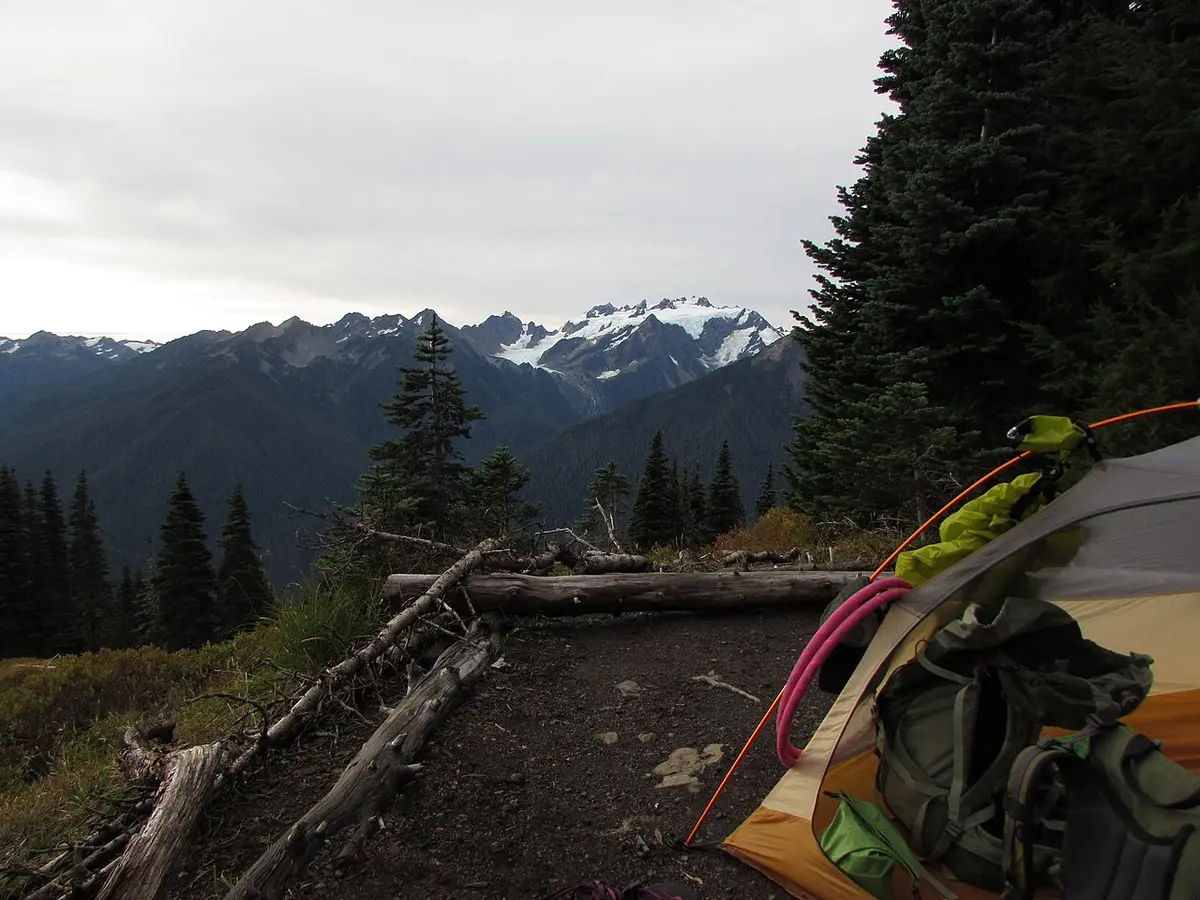
Check the waterproof ratings for fly and floor and look for taped seams, as explained in tent waterproof ratings. A fly that reaches within a few inches of the ground and a bathtub floor with raised edges prevent splashback from leaking in. A quality fly guards against wind-driven rain.
Step five: ventilation and condensation
Condensation is the most common complaint about backpacking tents. Moisture from your breath and the ground condenses on cool fabric, then drips or wets your bag. Double-wall tents manage this by letting vapor pass through the inner and condense on the outside of the fly. Look for high and low vents, a fly that sits clear of the inner tent and large mesh panels. Pitch with the door slightly cracked and away from the wind, and avoid camping in a hollow or beside water where air is damp.
Single-wall tents and bivies condense more because the fabric is the only barrier. Open every vent you can and carry a small cloth to wipe the walls. In dry climates, condensation is much less of a problem and a minimalist shelter is a good choice.
Floor, vestibule and details that matter
The vestibule is the covered space outside the inner door. It keeps wet boots, packs and a stove out of the sleeping area. A 2-person tent with one vestibule has about 8 to 10 square feet of covered storage, and two vestibules let each person keep gear on their side. Check that the vestibule shape lets you sit in the doorway and cook safely, with the stove well away from fabric.
Door design matters. Two doors let each person get out without climbing over their partner. A D-shaped door opens wide and clears the floor. Look at interior pockets, a gear loft hook and the number of guy-out points. A footprint, which is a ground sheet cut to the floor size, protects a thin floor and adds an ounce or two. For rough ground, the weight is worth it.
Fabric and poles
Backpacking fabrics range from 10D to 40D nylon or polyester, with PU or silicone coatings. Thinner means lighter and less durable. Silicone-coated nylon sheds water and wears well but needs careful seam sealing. Poles are aluminum alloy, with 8.5 to 9.5 mm diameter common and carbon fiber in the lightest tents. Aluminum is sturdy and repairable, while carbon is light and stiff but can splinter under impact. See our explanation of tent fabric and denier for how to read the numbers.
Look at pole hubs, clip design and the sleeve system. Clips are quick and let air gaps form between inner and fly, while sleeves are stronger against wind but slower. A color-coded pole layout saves frustration in the dark. Carry a pole repair sleeve, because a snapped pole in the backcountry is a trip-ending failure.
Budget and value
You can buy a decent backpacking tent at several price points. At the low end, the best budget backpacking tents and the best budget ultralight tents trade some weight and durability for cost. In the middle, expect better fabric, more thoughtful ventilation and a longer life. At the top, you pay for the lightest materials and careful engineering, and the benefit is real only if you carry the tent a lot.
For groups, check the best 3 person ultralight tents, the best 4 person ultralight tents and the best 1 person ultralight tents lists for the range of floor sizes and weights. A key insight: spending an extra hundred dollars to save half a pound is worth it if you hike hundreds of miles a year, and not if you backpack twice a summer.
Choosing the pitch you will actually use
Every backpacking tent can be pitched several ways, and the best tent for you is the one that goes up well in the places you camp. Forest campsites often offer soft duff and trees for guylines, which suits non-freestanding and trekking-pole designs. Alpine zones and desert slickrock offer bare rock where stakes will not penetrate, so a freestanding tent with rocks on the guylines wins. Established platforms and tent pads in popular parks are small, flat and hard, and they reward a compact footprint and a freestanding frame. Check the typical campsites for your regular trips before buying, and picture the first night on each.
Consider the dimensions of your usual pads. A tent with a 52 by 88 inch floor plus a vestibule may not fit on a narrow ledge, whereas a tent with a tapered floor, a smaller footprint or a mid-height shape may. The pitch also affects how you handle wind. A semi-freestanding tent staked tightly into soft soil can be extremely stable, and a freestanding model on thin soil with weak stakes can roll in a gust. Practice both ways, and carry stakes appropriate to the ground, as described in our guide on how to choose tent stakes when you hike in varied terrain.
A weight budget worked through
Suppose you plan three-night trips with a base weight target of 15 pounds. A reasonable split is about 3 pounds for the shelter, 2 for the sleep system's pad, 2 pounds for the bag, 3 for the pack, and the rest for kitchen, clothing and water treatment. If your shelter blows that 3 pound budget, the other categories must shrink, or the pack gets heavy. A 2.5 pound 2-person tent split between two hikers is only 1.25 pounds each, which is an easy load. A 4-pound solo shelter would be a quarter of the budget and is hard to justify.
This arithmetic also shows where money is best spent. Saving one pound in the tent usually costs more than saving one pound in the sleeping pad or the cook kit, so many hikers upgrade the tent last. If your budget is limited, buy the best sleeping bag and pad you can afford and carry a standard tent. A good night's sleep beats a lighter pack, and your tent can always be upgraded once you know your habits.
Three hiker profiles and the tents that fit
The weekend hiker with a small budget. Two or three overnights a year, mostly in summer, on well-marked trails within a few hours of home. The right tent is a modest 2-person freestanding double-wall dome around 4 to 5 pounds, with taped seams, a vestibule and a footprint if the floor is thin. Weight is a minor penalty at this mileage and comfort matters more. A budget model gets the job done, and the money saved goes toward a better sleeping pad.
The solo thru-hiker. Months on a long trail, every ounce felt over thousands of miles, mixed weather from desert heat to mountain storms. Here a trekking-pole tent or a lightweight single-wall tent under 2 pounds makes sense, with a groundsheet that can be replaced, plenty of vents and a pitch that works in tight sites. The hiker accepts a learning curve and some condensation. Durability still matters, because a tent that fails in the middle of the trail is very costly.
The couple who backpack and also car camp. A 3-season 2-person tent between 3 and 4.5 pounds, freestanding, with two doors and two vestibules, handles both uses. On backpacking trips they split the weight. On car trips they enjoy the extra room. A 3-person model might be a better choice if they bring a dog or tall sleepers, and the added pound is carried between two packs.
Features that sound good and often do not matter
Some marketing features add cost without improving a night in the woods. A "gear loft" is nice, but a pocket works as well. Reflective guylines help you not trip, but you can add reflective cord yourself. "Mesh canopy for stargazing" is nice in July and cold in October. "Footprint included" saves money only if the floor really needs it. "Super quick pitch" is irrelevant if you pitch once a day. And tent weights that leave out stakes, stuff sacks and the footprint can be misleading.
Conversely, a few plain features matter more than they look: two doors, a vestibule big enough for a pack, a rain fly that comes nearly to the ground, big zippers with good pulls you can work with gloves, and reinforced guy-out points. Look for those first and treat the rest as extras.
Test before you go
Set up your tent at home before the trip. Confirm that all parts are present, learn the pitch sequence and check that the seams are sealed. Spray it with a hose for ten minutes, then sit inside and look for leaks. Sleep in it in the backyard once if you can, to find comfort problems. Time how long it takes to pitch in the dark and in the rain.
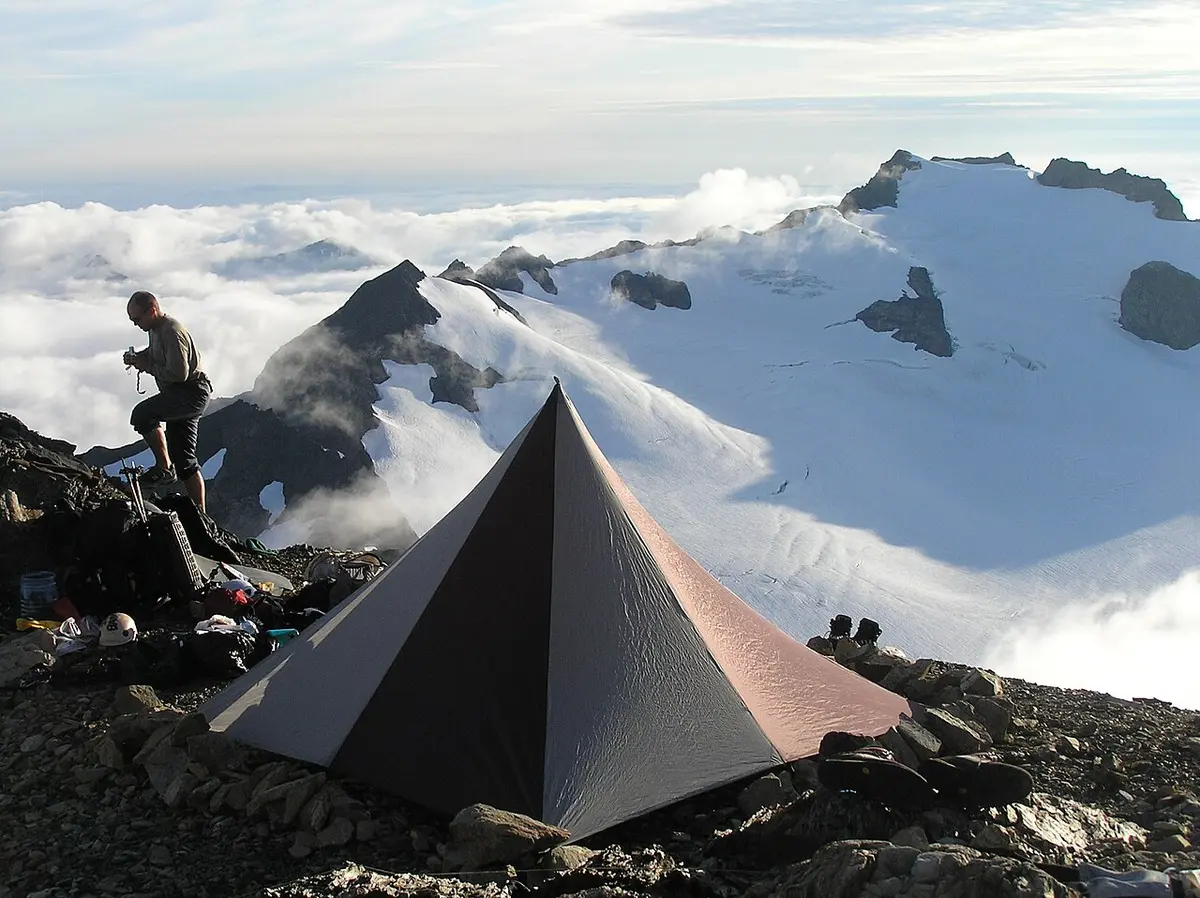
Learn to pitch it quickly and tightly. Our guide to how to set up a tent covers technique, and the steps in how to waterproof a tent help if seams need treatment. Maintain it afterward with the routines in how to clean a tent without damaging it and how to store a tent the right way.
Packing and carrying the tent well
How you carry the tent affects both the pack and the tent. Stuff the fly and inner loosely into a compression sack instead of folding them in the same creases every trip, since repeated sharp folds wear coatings. Carry the poles in a side pocket or strapped along the pack, and keep the stakes in a small bag where they cannot poke the fabric. If the tent is wet in the morning, pack the wet fly outside the pack or in a dedicated sack so it does not soak your sleeping bag, and dry it at the first sunny break. Back at home, hang the tent to dry fully before storage.
Common mistakes to avoid
- Buying on weight alone and ending up with a tent too small to sit up in.
- Choosing a single-wall tent for humid forest camping.
- Skipping the home test and discovering a missing pole at the trailhead.
- Not carrying a pole repair sleeve and spare stakes.
- Pitching in a hollow and getting heavy condensation.
- Using a thin floor on rough ground without a footprint.
- Assuming a "3-season" label means it handles any storm.
Frequently asked questions
How much should a backpacking tent weigh?
For a 2-person tent, 3 to 4 pounds is a comfortable standard, 2 to 3 pounds is lightweight and under 2 pounds is ultralight. Splitting the load between two people makes heavier tents bearable. Choose the weight that lets you carry the pack you can enjoy.
Is a 1-person tent worth it for solo hiking?
It saves a pound or two compared with a 2-person tent and is easier to pitch on small sites. A 2-person tent offers room for gear and more comfort, which many solo hikers prefer. If you hike in rain often, the extra room is useful.
Are trekking-pole tents hard to pitch?
They need practice. Pole height, stake placement and guyline tension matter, and they are less forgiving on rocky ground. Once learned, they pitch fast. They suit hikers who carry trekking poles and camp on soft ground.
Do I need a footprint?
Not always. A footprint protects a thin floor from rocks and sticks and adds an ounce or two. On soft ground or with a thick floor, you can skip it. On rough or rocky sites, bring one or a piece of lightweight plastic.
Can I use a bivy instead of a tent?
Yes, for short or fast trips, and as a backup. A bivy is light and small but gives little space and tends to condense. In prolonged rain, you will spend long hours in a cramped bag. Most hikers use a bivy with a tarp or in dry climates.
How do I stop condensation in my tent?
Pitch in an airy spot, away from water, open the vents and the door slightly, keep the fly tight and clear of the inner tent, and keep wet gear out. Wipe the walls in the morning. A double-wall design helps.
Sources & further reading
Image credits
- "Backpacking supplies (pack, tent, sleeping pad, and bear box) at Panhandle Gap" by Buidhe, CC BY-SA 4.0, via Wikimedia Commons.
- "Subalpine tent backpacking bruces roost mountains WIC npsphoto (22656430828)" by Olympic National Park, Public domain, via Wikimedia Commons.
- "Backpacking alpine mountains peaks tent camping visitor nps photo (22901840336)" by Olympic National Park, Public domain, via Wikimedia Commons.


Ready to buy?
Compare the gear: Tents & Shelter
5 Best Budget Backpacking Tents in 2026
Best budget backpacking tents compared on listed weight, floor size and pole material, for hikers who want a cheap shelter that still packs small.
3 Best Budget Ultralight Tents in 2026
Best budget ultralight tents compared on listed weight, fabric, poles and what is included, for backpackers who want to save grams and money.
6 Best 3 Person Ultralight Tents in 2026
Best 3 person ultralight tents compared on listed weight, freestanding design, floor size and fabric for trios who split the load on the trail.
4 Best Ultralight Trekking Pole Tents in 2026
Best ultralight trekking pole tents compared on listed weight, fabric rating, floor size and pole height for backpackers who already carry their own poles.
4 Best 1 Person Ultralight Tents in 2026
Best 1-person ultralight tents compared on listed weight, size, waterproof rating and setup, for solo hikers who want a shelter that disappears in a pack.
3 Best Lightweight 4 Person Backpacking Tents in 2026
Lightweight four-person backpacking tents compared on packed weight, pole type, floor size and weather build for groups splitting the load.
3 Best Bivy Sack For Ultralight Backpacking in 2026
Best bivy sacks for ultralight backpacking: three light weatherproof covers from 130 g Tyvek to a 1.1 lb waterproof-breathable shell, with honest limits.
4 Best Ultralight Tent Under 100 in 2026
Best ultralight tents under $100: four light backpacking shelters ranked on stated weight, waterproof ratings and pole type, with honest budget trade-offs.
Keep reading