
Practical Camping Guide · 12 min read
How to Dry Wet Hiking Boots Without Damaging Them
Dry wet hiking boots slowly with paper, airflow and removed insoles, and avoid fires, heaters and dryers that crack leather and melt glue.

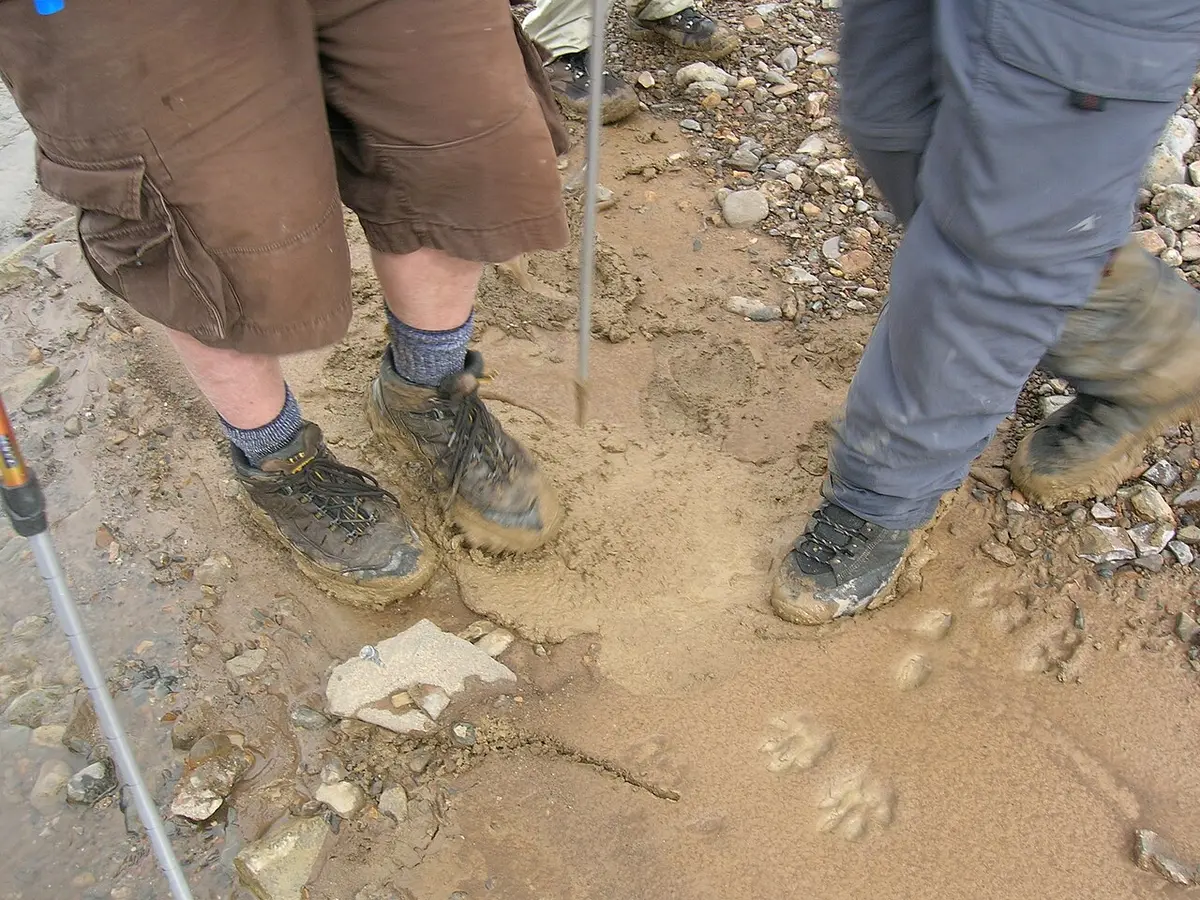
Dry wet hiking boots slowly at room temperature: remove the insoles and loosen the laces, stuff the boots with crumpled newspaper or paper towels (replacing them as they get damp), set them somewhere with moving air, and be patient, since a full-grain leather boot can take 24 to 48 hours. Keep boots away from fires, heaters, radiators, hair dryers and hot car dashboards, because direct heat can crack leather, melt adhesives, shrink the lining and damage waterproof membranes.
Wet boots are miserable to wear and slow to recover. They also rot when left damp: the lining grows mildew, the insoles smell, leather stiffens and sole glue weakens. A good drying routine is one of the cheapest ways to make boots last for years. This guide covers how to prep wet boots, the best drying methods at home, how to dry them in the field and on the trail, what to avoid, how to deal with odor and mildew, special cases such as waterproof liners, trail runners and water shoes and how to aftercare them once dry.
Why drying matters and why heat is a problem
Boots are layered. The outer material, whether leather, nubuck or synthetic fabric, sits over a lining, a membrane in waterproof models, a footbed and a midsole bonded with adhesives. Each material reacts differently to heat and moisture. Leather loses its natural oils when dried quickly and becomes stiff and prone to cracks, and a boot dried by a fire can shrink and no longer fit. Adhesives that hold the sole and midsole can soften at high temperatures, leading to delamination. Waterproof membranes and seam tape can be damaged by heat.
Slow drying keeps materials flexible and glue intact. The goal is to move moisture out of the boot by airflow and absorption, not to bake it out. The faster you try to dry, the more risk you take, so choose a gentle method and give it time.
Step 1: prepare the boots
- Knock off mud and rinse with lukewarm water and a soft brush. Dirt traps moisture and abrades materials, and dried mud stiffens leather.
- Remove the insoles and pull them out to dry separately. Insoles hold a lot of water and sweat.
- Loosen the laces fully and pull the tongue forward to open the boot, which increases airflow.
- Remove any water by tipping it out and pressing a towel inside.
- Pat the outside dry with a towel.
If the boots are caked in salt from winter roads or beach use, rinse them with fresh water first, since salt attracts moisture and can stain leather and corrode eyelets.
Step 2: absorb moisture from the inside
Crumpled newspaper, paper towels or plain unscented paper absorb moisture from the lining and footbed. Stuff the boots firmly but not so tight that you stretch them. After an hour or two, replace the damp paper with fresh paper, and repeat until the paper stays dry. This can take a few changes the first day.
Other absorbers work too: a clean towel rolled into the toe, boot-drying bags filled with silica gel or zeolite and cedar shoe trees that absorb moisture and odor. Avoid ink-heavy newspaper in light-colored boots, which can transfer ink, and use plain paper towels instead. Do not use rice or kitty litter, which can leave dust and is rarely better than paper.
Step 3: use airflow, not heat
Place the boots in a room with good air circulation, at normal indoor temperature, away from direct sun and heat sources. A fan blowing across the openings speeds drying dramatically, and a small oscillating fan in a closet or garage is ideal. Stand the boots upright with the tongue pulled forward, or hang them upside down on a boot rack so water drains from the opening. Do not stack them or put them in a closed space, because moisture will rise and mildew.
A boot dryer with low heat or air-only mode is a good tool for frequent hikers. Look for models that circulate air with a gentle warmth under about 100 degrees Fahrenheit, and avoid high-heat units. Use them for a few hours at a time, and check the boots often.
Drying times and what to expect
| Boot type | Typical drying time at room temperature | Notes |
|---|---|---|
| Lightweight mesh trail shoes | 3 to 8 hours | Dry quickly with air and fan |
| Synthetic hiking boots | 8 to 18 hours | Waterproof liners add time |
| Full-grain leather boots | 24 to 48 hours | Slow drying, change paper often |
| Insulated winter boots | 24 to 72 hours | Remove liners, dry separately |
| Waterproof boots with membrane | 18 to 36 hours | Water trapped inside stays |
Times vary with humidity, airflow and how wet the boots were. In a humid climate, dry rooms and a dehumidifier help. Keep the boots out of a closed car in summer or winter, since temperature swings stress materials.
What not to do
- Do not use a campfire, stove or heater. Radiant heat is the fastest way to ruin boots, and leather can scorch.
- Do not put boots in an oven, microwave or clothes dryer. The heat and tumbling can melt glue and warp the shape.
- Do not leave boots on a radiator or in direct sun. Surface heat dries the outside faster than the inside and cracks leather.
- Do not use a hair dryer on high heat. Low and distant may be tolerable for spot drying but it is not advised for the whole boot.
- Do not store boots damp in a closet or bag.
- Do not skip the insoles. Leaving insoles in a wet boot keeps moisture in.
These are shortcuts that save hours and cost boots. If you are in a hurry, use fans and absorbent paper, and consider a second pair.
Drying in the field
On a trip you cannot wait 48 hours. A few tactics help.
- Wear dry socks and change as soon as they are damp. Wet socks inside wet boots are the worst combination. Carry at least two spare pairs.
- Open the boots at camp: loosen laces, pull the tongue and remove insoles. Place them where air can circulate and where they will not get soaked by dew, such as under a tarp or in the tent vestibule.
- Stuff boots with dry clothing or paper from your trash bag overnight, then remove it in the morning.
- Use the sun in the afternoon, with the boots propped open, but avoid leaving them in baking heat for hours.
- Place a warm object nearby, not in contact, such as a bottle of warm water at the foot of the sleeping bag. Some hikers put boots in the foot of the bag at night, which is warm but can wet the bag, so only do this with a waterproof stuff sack.
- Near a fire, keep boots at a distance of several feet and never leave them unattended. A little warm air is acceptable, direct heat is not.
- Wear them while walking on a sunny day, which dries them gradually from your body heat.
Trail runners and mesh shoes dry quickly as you hike. For wet-weather strategy and the trade-offs of membranes, see waterproof vs non-waterproof hiking footwear.
Odor, mildew and stubborn dampness
If boots smell after drying, the lining or insoles may still hold bacteria. Remove insoles and wash them in mild soap and water, then dry completely. Sprinkle baking soda inside the boots overnight and shake it out in the morning, or use a boot deodorizer. Spray a diluted solution of white vinegar and water in the lining, let it sit and air dry thoroughly. For mildew, brush off spores outdoors, wipe with a vinegar solution and let the boots dry in a ventilated space, ideally in the sun for short periods. A cedar insert helps long-term.
Rotate two pairs of boots if you hike often, which gives each pair a full day or two to dry. Keep a spare insole set so you can swap damp ones for dry ones.
Special cases
Waterproof boots. A membrane traps moisture inside, so it is important to dry from the inside. Remove insoles, open the boot and use paper and airflow. If water is trapped under the lining, it can take longer.
Insulated winter boots. Remove the liners if they are removable and dry them separately. See winter boot temperature ratings explained for how insulation works and why damp insulation loses its value. The best winter boots under $75 list shows models where liner removal is easy.
Water shoes. These are designed to drain and dry quickly, and the main need is rinsing and shade-drying. See the best water shoes for men under $50, best water shoes for men wide feet, best water shoes for women beach, best water shoes for kids and best water shoes for toddlers lists for options.
A realistic drying plan for a wet weekend
Imagine you come home Sunday night after two days of rain, with both pairs of boots soaked and muddy. A good plan takes about five minutes of hands-on time and then works while you sleep. First, knock off the mud outside and rinse with lukewarm water, then pull out the insoles and set them on a rack. Loosen the laces fully and open the tongues wide. Stuff each boot with crumpled paper towels, pressing them firmly into the toe and the heel, and set the boots on a boot rack or upside down over the posts of a shoe tree.
Place the boots in a room with moving air, such as a spare room with a small fan on low pointed at the openings, or near a dehumidifier. Do not put them in the sun or on a heater. Before bed, swap the damp paper for dry paper. Monday morning, check again: if the paper comes out damp, replace it and leave the fan on while you are at work. By Monday evening, mesh and synthetic boots should be nearly dry, and leather boots may need another night. When the boots feel dry inside, with no cold or clammy spots near the toe, put the insoles back and let them rest another few hours before you wear them.
This routine is simple and kind to the materials. The key is airflow and absorbent paper, not heat. A little patience saves a pair of boots that can cost over a hundred dollars.
Special problems: salt, mud and stains
Salt stains. Winter road salt and beach salt leave white marks on leather and attract moisture. Wipe with a cloth dampened with a mix of equal parts water and white vinegar, then rinse with clean water and dry slowly. Condition the leather after it is dry.
Dried mud. Do not scrape with a hard tool. Soak it softly with a wet cloth, then brush it off with a soft brush. Mud left inside the seams can cut stitching.
Oil and grease. Blot with a cloth and sprinkle cornstarch to absorb oil, then brush off after a few hours. Avoid solvents on leather and membranes.
Mold spots. Wipe with a mild vinegar solution and dry in a ventilated space. If mold has gone deep into the lining, replace the insoles and consider a professional cleaning.
Smelly liners. Remove and wash removable liners by hand with mild soap, rinse well and dry flat. Do not machine dry.
Using a boot dryer and other tools
A boot dryer is a worthwhile purchase if you hike or work outdoors regularly. Models fall into two types: warm-air dryers that circulate gentle heat through the boot, and forced-air dryers that move room-temperature air. Both work, and the second is gentler on leather and glue. Choose a dryer with a stated temperature range, and avoid ones that run hot. Use it for a few hours at a time, check the boots and rotate between pairs.
Other tools help too. A fan costs little and accelerates drying, a dehumidifier removes moisture from the room and a shoe tree made of cedar helps maintain shape and absorb odor after the boots are dry. Silica gel or reusable desiccant bags absorb moisture in storage, and can be recharged by warming them in an oven at a low temperature according to their instructions. Avoid gadgets that promise to dry boots in minutes with strong heat. The slower methods are safer, and the savings from keeping boots in good condition outweigh the convenience.
Drying on the road and in vehicles
Vehicle camping and road trips add complications. A parked car in summer can exceed 130 degrees, which can warp and damage boots left on a dashboard, so keep them out of direct sun. In winter, wet boots left in a cold car can freeze solid, making them hard to put on and stressing the materials. Bring boots into the tent or the cabin at night, and keep them in a bag only when they are dry.
In an RV, dry boots on a rack in the bathroom with the vent fan on or by a dehumidifier, away from the heater. Use a fan on a counter or a clothesline to hang insoles. If you spend multiple days in wet weather, rotate two pairs, and carry a few extra pairs of socks. A tarp or a boot tray at the door keeps water from tracking inside. These small habits make wet-weather travel more comfortable.
Preventing wet boots in the first place
The best drying strategy is to keep boots from getting soaked. Choose footwear suited to the weather and the terrain: our guides on waterproof vs non-waterproof hiking footwear and hiking boots vs hiking shoes vs trail runners explain the trade-offs. Re-treat the outer water repellent when water stops beading. Wear gaiters in deep snow, wet grass and mud, and rain pants that overlap the boot tops. Step around puddles when it is not necessary to walk through them, and avoid long stream crossings in non-waterproof boots unless you plan to let them dry.
Fit affects moisture too. A boot that fits well rubs less, and a sock that wicks keeps feet drier. Keep nails short and use merino or synthetic socks. Carry a spare pair of socks and change when feet get damp. With these habits, boots stay in better shape and take less time to dry. Over a season, the habits save money and discomfort.
Aftercare once dry
Once boots are fully dry, brush off dirt, apply leather conditioner or wax if the maker advises, and re-treat the outer water repellent when water stops beading. Replace insoles that have flattened. Store boots in a cool, dry, ventilated place, with laces loosened and tongues pulled out. For fit and break-in guidance for the next pair, see how hiking boots should fit and hiking boots vs hiking shoes vs trail runners.
Common mistakes to avoid
- Drying boots near a fire or heater.
- Leaving insoles inside.
- Skipping the mud and salt cleaning.
- Storing boots wet in a bag or trunk.
- Using too little paper and not changing it.
- Hurrying leather boots.
- Ignoring odor until it is hard to remove.
Frequently asked questions
How long does it take to dry hiking boots?
Mesh trail shoes may take a few hours, synthetic boots most of a day and full-grain leather boots one to two days. Airflow, humidity and how wet the boots were change the time.
Can I put wet boots in the dryer?
No. The heat and tumbling can melt glue, warp the shape and damage membranes and leather. Use air drying, paper and fans, or a boot dryer with low heat.
Is newspaper good for drying boots?
Yes, plain paper absorbs moisture well. Replace it as it gets damp. Use paper towels for light-colored boots to avoid ink transfer.
How do I dry boots on a camping trip?
Remove insoles, loosen laces, stuff with dry paper or clothing, and keep them in airflow away from the fire. Wear dry socks, and use the afternoon sun. Do not put boots near direct heat.
Why do my boots stay damp inside?
Waterproof boots and thick linings hold moisture, and insoles trap water. Remove insoles, open the boot, use absorbent paper and give airflow time. A fan or boot dryer on low can help.
How do I get rid of boot odor?
Wash the insoles, use baking soda or a boot deodorizer, wipe with a vinegar solution and dry completely. Rotate pairs so each dries fully between uses.
Sources & further reading
Image credits
- "A hike in Denali usually means cross-country travel, not on a trail; and the end result can be a bit muddy. (3a6f3b76-1dd8-b71c-0776-22d5071720fb)" by NPS Photo, Public domain, via Wikimedia Commons.
- "Wanderschuhe" by Liesel, Public domain, via Wikimedia Commons.


Ready to buy?
Compare the gear: Clothing & Footwear
5 Best Winter Boots Under 75 in 2026
Best winter boots under $75: five women's mid-calf snow boots compared on seam-sealed membranes, Thinsulate, Thermolite and traction for cold trips.
6 Best Water Shoes For Kids in 2026
Best water shoes for kids: six quick-dry barefoot and aqua-sock picks compared on grip, toe cover, wide toe box and how easily children can put them on.
6 Best Water Shoes For Men Under 50 in 2026
Best water shoes for men under $50: six quick-dry sneakers and aqua socks compared on drainage, cushioning, closure and sole grip for men's feet.
6 Best Water Shoes For Men Wide Feet in 2026
Best water shoes for men with wide feet: six wide-toe, wide-size and adjustable-strap picks compared on toe room, closure, drainage and sole grip.
5 Best Water Shoes For Toddlers in 2026
Best water shoes for toddlers: five soft slip-on and hook-and-loop swim shoes compared on grip, easy fit, cushion and quick-dry fabric for small feet.
5 Best Water Shoes For Women Beach in 2026
Best water shoes for women at the beach: five quick-dry aqua shoes compared on hot-sand protection, drainage, grip and adjustable or slip-on fit.
5 Best Winter Boots For Toddlers in 2026
Best winter boots for toddlers: five insulated snow boots and warm ankle boots compared on waterproofing, warmth, easy closures and growing-toe room.
6 Best Winter Boots For Women Non Slip in 2026
Best non-slip winter boots for women: six boots with textured, rubber or EVA outsoles compared on grip on ice, wet pavement and snow.
Keep reading