
Practical Camping Guide · 12 min read
How to Clean, Backflush and Store a Water Filter
Backflush, dry and store a water filter correctly, keep it from freezing and know when to replace it so it keeps protecting you on trips.

Clean a water filter by backflushing it with clean water (running water through the clean side so it flushes debris out of the intake side), as often as the manufacturer recommends and whenever flow slows. After a trip, flush thoroughly, let the filter dry completely, store it loose in a clean bag in a cool place and never let a hollow-fiber filter freeze. If the flow stays slow after backflushing, if the filter has frozen or dropped hard or if it has reached its rated capacity, replace it.
A neglected filter fails in two ways. It clogs, so that pumping or squeezing becomes a chore, and it silently loses its protection when a membrane cracks, grows mold or sits wet for months. Neither problem announces itself to the person drinking. Good habits cost minutes and keep a filter working for its full rated life. This guide explains how filters clog, how to backflush each common type, how to do a field and a home clean, how to store filters through the season, how to test and when to retire a filter and how to protect it in cold weather and in your pack.
How filters clog and fail
Water treatment filters trap particles on the intake side of the membrane. Silt, algae, plant fragments and organic film gradually build up and block pores, which slows flow and raises the effort needed. Hard water and minerals can add scale. Because a filter is a physical barrier, clogging is normal, and cleaning restores much of the flow, though not all of it, since some particles lodge deep in the pores.
Failure is different. A hollow-fiber membrane can crack if water inside it freezes and expands, or if the unit takes a hard impact or a sudden pressure spike. A cracked membrane can pass water freely and let pathogens through while looking and feeling normal. Seals can wear, housings can crack and mold can grow in a damp filter stored in a closed bag. These failures are why care and storage matter as much as cleaning.
Backflushing: the main cleaning method
Backflushing reverses the flow, pushing clean water from the clean side through the membrane to the dirty side to dislodge trapped particles. The method varies by product, so check the manual, but the idea is the same.
Squeeze and bag filters. Fill the bag with clean water, attach the filter and squeeze so water flows backward through the filter output. Many include a syringe or a coupler for this purpose. Repeat several times until the water runs clearer.
Gravity filters. Use the syringe or backflush tool provided, or flip the filter and push clean water through the output. Some gravity systems can be cleaned by running water in the reverse direction from a bag.
Pump filters. Many have a cleanable pre-filter or a ceramic or glass-fiber element that you scrub or flush. Some can be backflushed by reversing the hose connection, and others need scrubbing under running water.
Straws and bottle filters. Blow or shake water out of the straw, and rinse a bottle filter under clean running water, following the maker's guidance. Some straws can be backflushed with a syringe.
Always use clean (treated or tap) water for backflushing, and do it away from the source so you do not contaminate it. Do not use soap or chemicals unless the maker says so.
Step-by-step cleaning
- Rinse the exterior with clean water to remove mud.
- Backflush until the flush water runs clear, usually 5 to 10 flushes.
- Check flow by filtering a measured amount of water and timing it. Compare it with the rate when the filter was new.
- Clean pre-filters or ceramic elements gently with a soft brush, if present, and rinse. Do not scrub hollow-fiber membranes.
- Inspect for damage. Look for cracks, loose fittings, discolored fibers and worn seals.
- Shake out excess water, and let the filter air dry with the caps off in a clean, ventilated place away from direct sun and heat.
- Store when completely dry.
For deep cleaning at home, some manufacturers recommend a short soak in a diluted bleach solution or another sanitizing step, followed by a thorough rinse. Others say not to use chemicals. Follow the specific instructions for your model, because the wrong chemical can damage membranes and housings.
Cleaning in the field
On a trip, fouling shows up as slowing flow. Backflush at the first sign, at a safe distance from the water source, and use treated water. If water is very silty, pre-filter through a cloth or let it settle to protect the filter. Keep a few extra fittings and a spare O-ring, and carry a small cleaning kit that includes the backflush tool. If a filter is badly clogged and you cannot restore flow, switch to a backup method such as chemical tablets or boiling; see how to use water purification tablets and water filter vs water purifier for camping.
Avoid forcing water through a clogged filter by squeezing harder or pumping aggressively, which can rupture seals or fibers. A filter that requires great force is telling you to clean it.
Freezing: the silent killer
Water trapped in a hollow-fiber filter expands when it freezes and can crack the membrane. A cracked membrane may still flow normally. For this reason, manufacturers advise keeping filters above freezing and discarding any that may have frozen, even if they look fine. In cold weather, sleep with the filter in your sleeping bag or in an inside pocket, and keep it in your jacket during the day. Do not leave a wet filter in a pack outside overnight in freezing temperatures. If you are unsure whether a filter froze, assume it did and use another method.
Some filters include an integrity test, such as a pressure test or a bubble point test, that can show a crack. For example, a manufacturer may supply a method for blowing air through a wet membrane to check for leaks. If your model offers a test and you use the filter in cold conditions, run it before a trip.
Storage between trips
Storage practices differ by filter type, so check the manual, but a few rules apply broadly.
- Dry completely before long-term storage to prevent mold, unless the manufacturer specifically says to store wet. Let the filter air dry with the caps off for a day or more.
- Store in a clean, breathable bag, not a sealed plastic bag with moisture.
- Keep it cool and out of sunlight. Heat can degrade plastics and membranes.
- Avoid freezing and extreme heat, such as a garage in winter or a car in summer.
- Label with the date of purchase and first use, so you can track capacity and age.
- Store with a desiccant if you live in a humid place.
- Keep caps and fittings in the bag so they are not lost.
For gravity systems with bags, empty and dry the bags and store them loose, because folded wet bags grow mold. For bottle filters, remove the cartridge and let it dry separately. Straws should be blown out and dried.
Testing and replacing
Replacement is part of ownership. Filters have a rated capacity, such as hundreds or thousands of liters, and the number is a maximum under good conditions. In dirty water, it falls. Keep track of roughly how much you have filtered, and replace the cartridge at or before the limit. Replace sooner if:
- flow remains slow after backflushing,
- the filter has frozen or taken a hard hit,
- you see cracks, discoloration or mold,
- it smells bad that rinsing cannot fix,
- you cannot confirm its history.
Check availability of replacement cartridges before buying a system, since a filter without parts is a short-term investment. When you shop, compare cost per liter over the life of the cartridge. See the lists of the best portable water filters, best water filters under $100, under $150, best portable gravity water filters, best lightweight gravity water filters and best ultralight gravity water filters for options that include replaceable parts.
Filter types and how their care differs
Knowing what is inside your filter tells you how to treat it.
| Element | Typical products | Cleaning approach | Freezing risk | Notes |
|---|---|---|---|---|
| Hollow-fiber membrane | Squeeze, gravity, straws, bottle filters | Backflush with clean water; do not brush | High; can crack | Most common in lightweight filters |
| Ceramic | Some pump filters | Scrub the surface with a soft brush or abrasive pad as directed | Lower, but can crack if dropped | Surface wears down with scrubbing |
| Glass fiber | Some pump filters | Backflush or rinse per the manual | Moderate | Often has a replaceable cartridge |
| Pre-filter or foam | Pump intakes | Rinse and squeeze out debris | Low | Protects the main element |
| Activated carbon | Taste cartridges | Replace on schedule; does not backflush well | Moderate | Improves taste and some chemicals |
If you do not know which type you have, check the manual or the maker's website. Using the wrong method, such as scrubbing a hollow-fiber membrane, can destroy it. Treat each element on its own terms, and follow the maker's guidance for the system.
A maintenance schedule you can follow
A simple schedule makes care automatic.
- After every use: shake out water, let the filter air dry when possible and keep the clean end capped and clean.
- When flow slows: backflush immediately, and pre-filter dirty water next time.
- After every trip: backflush thoroughly, inspect for cracks and wear, dry fully and store.
- Each season: test flow and compare it with new, check seals and O-rings and replace worn parts.
- At the rated capacity or the maker's recommended age: replace the cartridge, even if it seems fine.
- Any time it may have frozen or been dropped: retire it or run the maker's integrity test.
Write the dates on a piece of tape on the filter or in a gear notebook. This tiny habit tells you how much life remains and prevents the situation of using a cartridge that has silently aged out.
Troubleshooting slow flow
Slow flow is the most common complaint, and it has a short list of causes. Silty water clogs the pores quickly, so backflush and try a pre-filter next time. A kinked hose or a bag hanging too low reduces gravity flow, so raise the bag and straighten the hose. An air lock in a gravity system can block flow, so squeeze the filter or tilt it to purge air. Cold water is more viscous and flows slower, so warm the filter and water if you can. A worn seal or loose fitting can leak air into a pump and reduce suction, so check the O-rings and lubricate them as the manual directs.
If backflushing does not restore flow, the filter may be near the end of its life, or fouled by oils, algae or minerals. Some makers recommend a soak in a cleaning solution for deep fouling, while others do not, so read the manual. If flow is still poor, switch to a backup method and replace the filter after the trip. Never solve slow flow by forcing water through, which risks seal failure and membrane damage.
Traveling with a filter
Filters travel well with a few precautions. In a checked bag, wrap the filter in a plastic bag and cushion it to protect against impacts, since a hard hit can crack the membrane. In a carry-on, check airline rules about water containers and devices. Dry the filter before packing to prevent mold in transit, and keep it away from extreme heat in a parked car. Packing it inside your sleeping bag or an insulated jacket protects it from cold in winter travel.
If you are traveling abroad, bring spare cartridges and O-rings, since they may be hard to find. Check that your filter's claims match the risks at your destination; a filter without a virus stage may not be enough, and our guide on water filter vs water purifier for camping explains the difference. Pack a few tablets as a backup, as described in how to use water purification tablets.
Sanitizing before long storage or after questionable use
If you used a filter in very dirty water or it has been stored wet, a sanitizing step can help, if the manufacturer allows it. Some makers recommend a short soak in a dilute bleach solution, then a thorough rinse with clean water and complete drying. Others say never to use chemicals, which can damage membranes or housings. Follow your manual's instructions exactly, and rinse until no chemical smell remains. Do not mix cleaning chemicals, and do it in a ventilated area away from food.
For routine use, backflushing and drying are enough. A filter that smells musty after drying likely grew mold during storage and should be replaced rather than doctored with household chemicals. The cost of a new cartridge is small compared with the risk of drinking through a compromised filter.
When to retire a filter
Retire a filter when its rated capacity is reached, when it has frozen or taken a hard impact, when it fails an integrity test, when you can see cracks or mold or when flow cannot be restored. If you are unsure of its history, such as a secondhand filter, replace the cartridge. Keep the housing if it is in good shape and the maker sells cartridges. When you replace the filter, note the date and the number of liters filtered so you can compare the life you got with the claims.
Think of the cartridge as a consumable, like a tire or a brake pad. Its cost per liter is small when you use it fully and a poor bargain if you keep it past its life. Budget for replacement when you buy the system, and prefer systems with accessible parts and clear instructions.
Reading the manual and standards
Maintenance instructions are part of the product's performance claims. If a manufacturer states a rated capacity or a cleaning interval, it assumes you will follow it. Certified products carry specific conditions, as explained in what NSF/ANSI certifications mean on portable water filters. Keep the manual or a photo of the maintenance page, and note the cleaning method for your model. If you bought secondhand or lost the instructions, find the manual on the maker's website.
Keeping a filter log
A short log makes filter care easy. Record the date you bought the filter, each trip, the water sources you used, roughly how many liters you filtered and when you backflushed. Note any freezing exposure, drops or odd smells. A notebook page or a note on your phone is enough. When flow starts to slow, the log tells you whether the cause is normal wear or a sudden change, and when you approach the rated capacity you will know it is time to replace the cartridge. It also helps when you buy a replacement, since you can compare the life you got with the maker's claims.
Common mistakes to avoid
- Using a filter that may have frozen.
- Storing a wet filter in a sealed bag.
- Forcing water through a clogged filter.
- Using soap or bleach where the maker says not to.
- Backflushing with untreated water.
- Ignoring the rated capacity.
- Cleaning at the water source and contaminating it.
Frequently asked questions
How often should I backflush my filter?
Follow the manual, and also backflush whenever flow slows noticeably. Many users do it at the end of each trip and after filtering silty water. Regular cleaning keeps flow steady and extends life.
Can I clean a hollow-fiber filter with a brush?
No. Brushing can damage the fibers. Backflush with clean water, and use a brush only on pre-filters or ceramic elements that the maker says can be scrubbed.
How do I know if my filter froze?
You cannot always tell by looking. If it may have been exposed to freezing temperatures while wet, treat it as compromised and replace it, or run an integrity test if the manufacturer provides one.
Should I store my filter wet or dry?
Most makers recommend drying it completely and storing it clean and loose, though some advise a short disinfection step first. Check your manual, because instructions vary.
How long does a water filter last?
It depends on the model, water quality and care. Rated capacities range from hundreds to thousands of liters. Dirty water shortens life. Replace the cartridge at the rated capacity or when flow cannot be restored.
Is it safe to use bleach on my filter?
Only if the manufacturer's instructions allow it, and then in the diluted amount and time they specify, followed by a thorough rinse. Otherwise bleach can damage membranes and seals.
Sources & further reading
Image credits
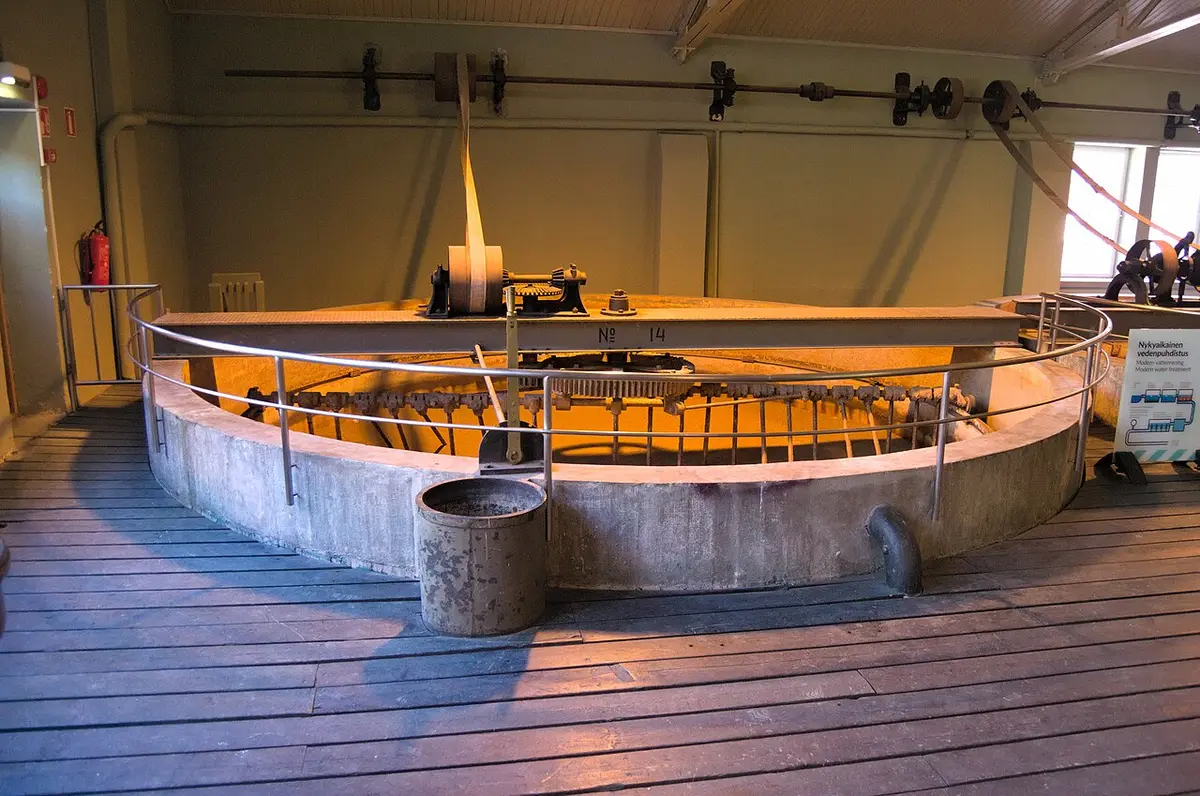
- "Jewell water filter Rapid Filtration Plant 1" by Antti Leppänen, CC BY 4.0, via Wikimedia Commons.

Ready to buy?
Compare the gear: Packs & Hiking
3 Best Lightweight Gravity Water Filters in 2026
Three light gravity water filters for hikers and campers, a Sawyer SP160 with a 2 ounce filter, a MultiSavePuls 3L bag and a free-standing Uzima UZ-2.
2 Best Portable Gravity Water Filters in 2026
Two portable gravity water filters at opposite ends of the size range: the 10 liter MSR AutoFlow XL for groups and a Waterdrop straw-and-bag set for pairs.
5 Best Portable Water Filters in 2026
Five portable water filters: three electric pumps and two straw packs, with notes on what each listing claims to remove.
4 Best Ultralight Gravity Water Filters in 2026
Four ultralight gravity water filters, led by the Platypus QuickDraw 3L with a P231 protocol claim and a 0.8 lb miniwell kit for gram counters.
5 Best Water Filters Under 100 in 2026
Best water filters under $100: five under-sink filters compared on filter life, certifications and install for cabins, vans and a camper's home base.
5 Best Water Filters Under 150 in 2026
Best water filters under $150: five under-sink water filter systems compared on stages, filter life and faucet setup for cabins, tiny homes and van builds.
4 Best Water Filters Under 200 in 2026
Best water filters under $200: four premium under-sink systems compared on contaminant coverage, flow rate and filter life for cabins and tiny homes.
4 Best Water Filters Under 30 in 2026
Best water filters under $30: four hose-end and inline filters compared on filtration type, lifespan and fit for RV, camper and campsite water.
Keep reading