
Practical Camping Guide · 13 min read
How to Pack a Backpacking Pack
Pack a backpacking pack in zones: light bulk low, heavy items close to your back mid-pack, daily items on top, with compression and rain liner tips.

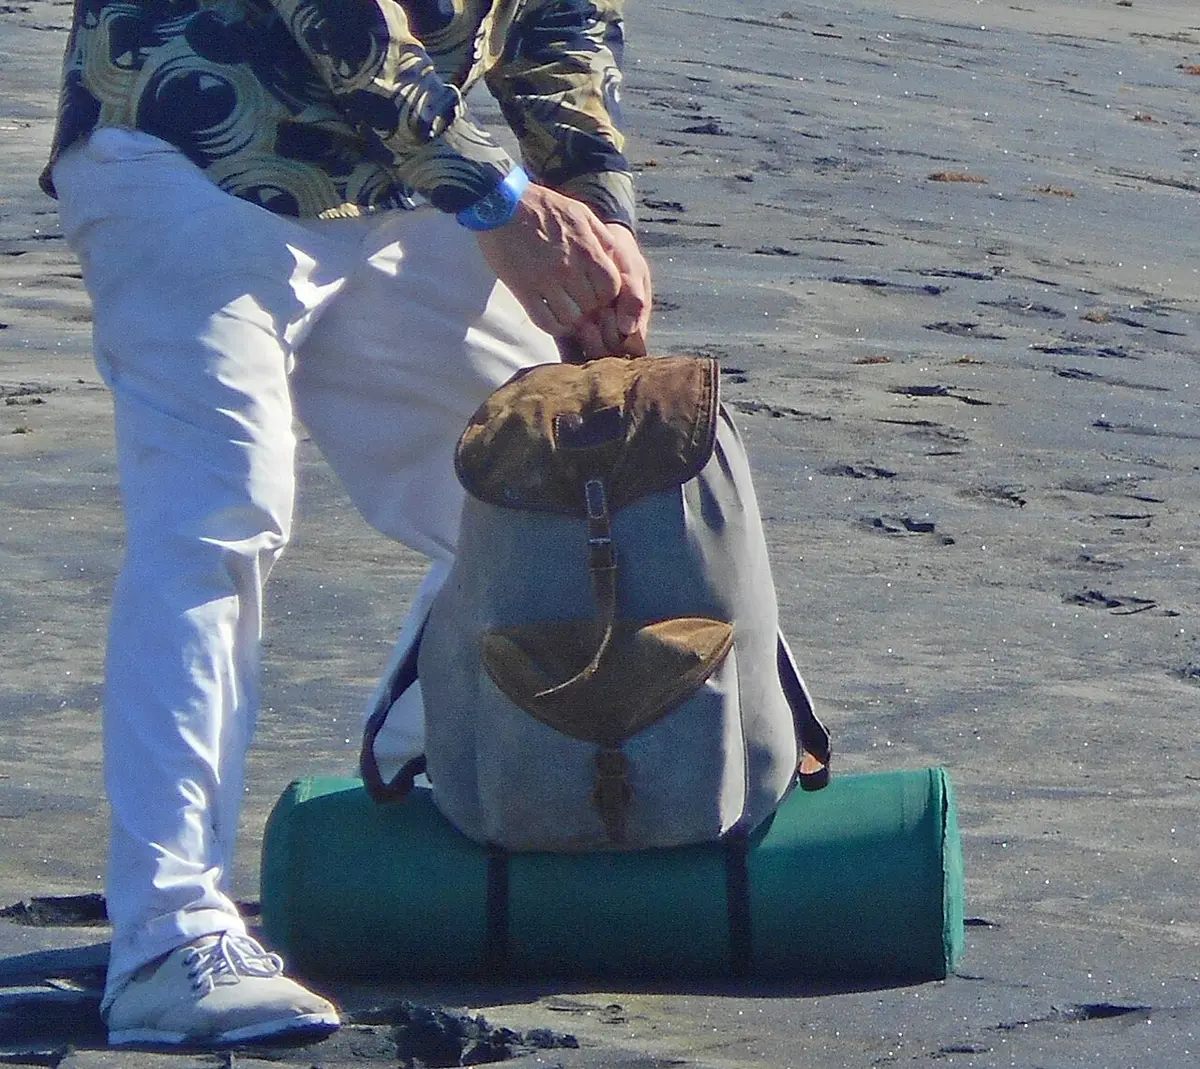
Pack a backpacking pack in zones: light, bulky gear (sleeping bag, clothes) at the bottom, heavy dense items (food, water, stove, cook kit) close to your back and in the middle third of the pack, medium items around them and things you need during the day (rain jacket, snacks, map, first aid, water treatment) on top or in external pockets. Keep the load centered, compress it so nothing shifts and make sure the pack fits you before you fill it.
A good pack job turns a heavy load into one you can carry all day, and a bad one makes a light load feel painful. Weight placed too high makes you top-heavy and unstable, weight too far from your spine pulls you backward and a loose load swings with every step. This guide explains the principles, a step-by-step packing order, how to handle water, food and wet gear, how to organize for quick access, how to adjust the pack on the trail, differences for climbing and travel packs and the mistakes that cause most of the discomfort.
The principles of load placement
Your hips carry most of the weight through the hip belt, so the pack's weight should sit close to your spine and centered over your hips. The goals are balance, stability and access.
- Heavy items near your back and mid-height. This keeps the center of gravity close to your body and over your hips. For most hiking on trails, place the heaviest gear in the middle of the pack against your spine, between the shoulder blades and the lower back.
- Light, bulky items at the bottom. A sleeping bag is light for its volume and acts as a base. It also protects your lower back.
- Medium-weight items around the heavy core. Clothing, tent, stoves and cooking gear fill the space.
- Frequently used items on top or outside. Rain gear, snacks, sunscreen, map, headlamp and first aid should be reachable without unpacking.
- Keep the load symmetrical. Left and right should be balanced to avoid twisting or leaning.
- Compress and cinch. A shifting load wastes energy and strains your body.
For technical climbing, scrambling and skiing, the center of gravity should be lower and closer to the back for stability, so adapt the arrangement. For easy trails, a slightly higher center of gravity can feel more comfortable.
Step-by-step packing order
- Check the fit first. Make sure the pack's torso size and hip belt suit you; see how to size a hiking backpack to your torso. A badly fitted pack cannot be packed well.
- Lay out and sort. Group gear by use: sleep, shelter, kitchen, clothing, safety, water treatment, extras. Remove duplicates and anything you will not use. Every ounce matters.
- Pack the bottom. Place the sleeping bag in a compression sack or a waterproof liner and push it to the bottom of the main compartment. Some packs have a bottom zippered compartment for this.
- Pack the core. Place the heaviest items, such as food bag, water reservoir, stove and fuel and cookset, in the middle section against your back.
- Fill around the core. Add the tent body, the clothing stuff sack and other medium items around the core, packing tightly.
- Add the top. Place light, frequently used items like a rain jacket, fleece and first aid kit near the top.
- Use the lid and pockets. Put small items you need on the trail in the lid, hip belt pockets and side pockets: snacks, sunscreen, phone, map, headlamp, water filter.
- Attach external gear. Strap the sleeping pad, trekking poles and tent poles securely outside, keeping them balanced.
- Compress. Tighten all the compression straps to reduce volume and prevent shifting.
- Test. Put on the pack, cinch the hip belt and shoulder straps and walk around. Adjust if it feels unbalanced.
Weight placement for different terrain
| Terrain | Center of gravity | Why |
|---|---|---|
| Easy trail, flat | Slightly higher, close to the back | Upright posture, less hip strain |
| Hills and rolling trails | Middle, close to the back | Stability and balance |
| Steep, off-trail, scrambling | Lower and tight | Reduces swaying and tipping |
| Snow and skiing | Low and close | Prevents the pack from pulling you off balance |
| Creek crossings | Compact and secure | Prevents the pack from shifting in water |
Water, food and fuel
Water weighs about 2.2 pounds per liter, so it is one of your heaviest items. A hydration reservoir fits in a sleeve against the back, which keeps weight close to your spine. If you use bottles, put them in side pockets for easy access, and balance the weight left and right. Treat water at sources to avoid carrying more than you need; see water filter vs water purifier for camping and how to use water purification tablets for planning.
Food is dense. Put the food bag in the core, and keep snacks accessible. In bear country, use a bear canister or hang food as required, and place the canister in the pack so it does not poke your back. Stove fuel and the cook kit go low in the core, kept away from food and sleeping gear to avoid odors and leaks. Keep fuel upright and sealed.
Staying dry
Wet gear is a hazard. A pack cover helps in rain but does not protect the inside from a leak or a river crossing. A waterproof liner, such as a trash compactor bag or a purpose-made pack liner, lines the main compartment and keeps the contents dry. Put the sleeping bag and spare clothes in dry bags or in sealed bags. Keep an extra dry layer and socks in a separate waterproof bag for camp. A wet sleeping bag in cold weather can be dangerous.
Hang wet items outside the pack when possible, and keep them away from dry gear. Put wet tent fly or tarp in a separate bag or on the outside. Ziplock bags protect maps, phones and electronics.
Organization and access
The goal is to reach what you need without unpacking. Use stuff sacks of different colors for different categories, or clear bags that let you see contents. Keep a consistent system so you always know where things are. Put the first aid kit and rain jacket where you can reach them in a hurry. Hip belt pockets hold snacks, a phone and a small camera. Store the headlamp in the lid, and a small knife and lighter in a pocket you can reach.
Keep a small "emergency" pouch that stays in the pack, with a whistle, lighter, fire starter, space blanket and basic repair items. A small repair kit with tape, cord and a needle fixes gear on the spot.
Adjusting on the trail
As you hike, your pack changes. Food gets eaten, water is used and the load shifts. Stop to cinch the straps and rebalance. Loosen the hip belt briefly on long climbs to give your lungs room, then tighten. Shift the load lifters and sternum strap to move the weight. If your shoulders hurt, tighten the hip belt and lower the shoulder straps, and if your hips hurt, loosen the belt a little and tighten the shoulder straps for a moment, but do not let the weight rest on your shoulders for long.
Every few days, repack and organize to maintain balance. A sloppy pack accumulates problems, like a heavy item sitting too high or a loose strap catching on branches.
Pack types and uses
Different packs affect how you pack. Hiking packs for several days, such as those in the best hiking backpacks under $75, best hiking backpacks under $100, best backpacking backpacks under $100 and best backpacking backpacks under $150 lists, have a main compartment, a lid and pockets, and often a bottom sleeping bag compartment. Climbing packs, as in the best backpack for climbing gear list, are narrower with gear loops and a rope strap. Travel and adventure packs, like those in the best backpacks for adventure travel list, open like suitcases and need a different packing logic, with clothing and gear organized in cubes.
For choosing the right volume for your pack, see the backpack liter size guide. If you plan to carry a water straw or filter, see how to use a filter straw to keep it clean and separate from clean gear.
A zone map: where each item usually goes
Use this map as a starting layout, and adjust to your pack's design.
| Zone | Items | Reason |
|---|---|---|
| Bottom compartment or base | Sleeping bag, sleep clothes | Light, bulky, cushions the lower back |
| Lower core | Stove, fuel, cook pot (in a stuff sack) | Dense, kept away from food and the sleeping bag |
| Middle core, against the back | Food bag, water reservoir, bear canister | Heaviest items, close to the spine |
| Outer middle | Tent body, tent fly, camp shoes | Medium weight, bulky, fills gaps |
| Upper middle | Spare clothes, insulating layer | Light, compressible, fills space |
| Top and lid | Rain jacket, fleece, first aid kit, headlamp, toilet kit | Needed fast or often |
| Hip belt pockets | Snacks, phone, lip balm, sunscreen | Reach without stopping |
| Side pockets | Water bottles, filter, trekking poles in loops | Easy access |
| Outside lashing | Sleeping pad, tent poles | Bulky, tolerates weather |
A few adjustments apply. If you carry a bear canister, which is heavy and rigid, place it vertically in the core with soft items around it so that it does not poke your back. Keep sharp items such as tent stakes and pot handles in stuff sacks. Keep smelly items, including food, trash and toiletries, together in a bag you can hang or place in a canister. Put wet items in a separate sack or outside the pack.
A worked example for a three-night trip
Imagine a three-night, 40-mile loop in the mountains with a 55 liter pack and a loaded weight of 32 pounds including three liters of water. At home, you lay everything out on the floor and group it: sleep system, shelter, kitchen, clothing, safety, water, food. You remove a heavy book and a second pair of camp shoes after weighing them, saving a pound.
Packing starts with the sleeping bag in a dry bag at the bottom. The stove, fuel and pot go into a stuff sack on top of it, toward the front of the pack. The food bag and the water reservoir go into the center against the back, with the heaviest food at the center. The tent body goes behind the food, and the fly sits outside the tent in a separate stuff sack along the pack's front. The sleeping pad is strapped to the bottom outside, and tent poles ride in a side pocket with the stakes tucked inside a sock.
Clothing in a small dry bag fills the gap above the tent. The rain jacket, a warm layer, the first aid kit and the headlamp sit at the top under the lid, with snacks and sunscreen in the hip belt pockets and a bottle and the filter in side pockets. You cinch the compression straps, put on the pack and walk down the driveway, adjusting until it hangs from your hips and stays balanced. The whole process takes about twenty minutes and pays back with every mile.
Stuff sacks, dry bags and organization
Organizing gear into sacks has trade-offs. Stuff sacks keep related items together and make the pack easy to unpack, but rigid stacks leave gaps and add weight. Compression sacks reduce volume, particularly for a sleeping bag or insulated jacket. Dry bags protect gear from water, and roll-top styles are good for essentials. Clear or color-coded bags make it easy to find items, and labels help.
Do not overdo it. Too many small sacks waste volume and add ounces, and a pack full of rigid blocks is hard to shape. Consider using fewer, larger sacks, or none for soft clothing that can fill gaps. Keep a pack liner as the primary waterproofing and use dry bags selectively for the sleeping bag and electronics. Place items in the pack in the order you will need them, so that setting up camp is smooth: tent and sleeping bag first, then food and stove.
Bear country and food storage
In areas with bears, rules may require a bear canister, a bear bag hang or a food locker. Follow local regulations, which are posted by land managers. Pack food, trash and scented items such as toothpaste and sunscreen together so you can store them away from your tent. A canister is bulky, so plan for its volume in your pack and put it in the core with other heavy items close to your back. Do not carry food in your tent, and do not leave your pack unattended near camp when food is inside.
In places without bear rules, still protect food from rodents and other animals. A sealed bag and a hang or a container deter raccoons and mice. Cook and eat away from your sleeping area, and wash dishes away from water sources. These habits protect both wildlife and your gear.
Repacking and daily routine
On a multi-day trip, a repeating routine saves time. In the morning, pack in the same order every day, and put frequently used items in the same pockets. Check that the load is balanced, and cinch the straps. At lunch, reach for snacks, water and layers without unpacking. In the evening, take out what you need for camp in a logical order: shelter, sleep system, stove and food. Put dirty clothes in a separate bag and hang wet gear to dry.
Each day, your food gets lighter and your pack changes shape, so re-adjust the compression and balance. Recheck the hip belt and shoulder straps as clothing layers change. If the load feels off, stop and fix it. A few minutes of adjustment is cheaper than an afternoon of discomfort. At the end of the trip, empty the pack, shake out dirt, dry everything and check for damage.
Packing for different trip types
Day hike with a small pack. Water, food, layers, first aid, navigation and a headlamp, with the heaviest items against your back. Keep the load light and organized.
Overnight. Add shelter, sleep system and a minimal kitchen. Choose compact gear, and think in terms of what you will use.
Weekend with a partner. Share the tent, stove and cookware, and divide food and weight evenly. Consider sharing the heavier items so that the load is balanced by body size.
Winter overnight. Pack extra clothing, a warmer bag and extra fuel. Keep water bottles insulated and upside down, and keep electronics warm. Use a larger pack and a stiffer frame.
Climbing or scrambling approach. Keep the center of gravity low and the load snug, and attach gear to loops. Keep the pack narrow so it does not catch on rocks.
Pack weight and what to cut
Weight is the sum of many small decisions. A common target for comfortable backpacking is a loaded weight of about 20 percent of your body weight or less, and many hikers aim for a base weight, which excludes food, water and fuel, of 15 to 25 pounds. Reduce weight by leaving behind duplicate items, choosing lighter versions of the big three (pack, shelter and sleep system), repackaging food, and trimming extras. Weigh items on a kitchen scale and make a spreadsheet, which shows where the weight is.
Related reading
Where a filter sits in the pack matters too, and choosing a good one comes first. What NSF/ANSI certifications mean on portable water filters explains the standards behind the labels so you can pick one worth carrying.
Common mistakes to avoid
- Placing heavy items at the bottom or far from the back.
- Hanging too much gear outside.
- Packing loosely and leaving air gaps.
- Forgetting a rain liner.
- Burying frequently used items.
- Packing unbalanced left to right.
- Ignoring fit and adjusting straps.
Frequently asked questions
Where should I put heavy items in my backpack?
In the middle of the pack, close to your back, between the shoulder blades and the lower back. This keeps weight over your hips and your center of gravity stable.
Should the sleeping bag go at the bottom?
Yes, in most packs. It is bulky and light, forms a base and protects your lower back. Keep it dry in a waterproof liner or dry bag.
How do I keep my gear dry?
Line the pack with a waterproof liner, use dry bags for the sleeping bag and clothes and add a pack cover for rain. Keep spare dry layers in a separate sealed bag.
How tight should I make the compression straps?
Snug enough to stop the load from shifting, but not so tight that they distort the pack or crush items. Check balance by walking around.
Where do I put my water?
A reservoir goes in the sleeve against your back, and bottles go in side pockets, balanced left and right. Plan treatment so you do not carry more water than necessary.
How do I know if the pack is balanced?
It should feel centered, with no pulling to one side or backward. You should be able to stand upright without leaning. Adjust the load lifters and straps and shift heavy items until it feels stable.
Sources & further reading
Image credits
- "Backpack small" by Виктор Пинчук, CC BY-SA 4.0, via Wikimedia Commons.

Ready to buy?
Compare the gear: Packs & Hiking
5 Best Hiking Backpacks Under 100 in 2026
Best hiking backpacks under $100: five 50L to 100L packs, including two internal-frame models, compared on suspension, capacity and weight.
6 Best Hiking Backpacks Under 75 in 2026
Best hiking backpacks under $75: six 20L to 70L packs from a packable daypack to a 50L trekking bag, compared on capacity, suspension and rain protection.
4 Best Backpack For Climbing Gear in 2026
Best backpacks for climbing gear: rope bags and 40L to 50L packs for hauling rope, carabiners and approach shoes to the crag.
5 Best Backpacking Backpacks Under 100 in 2026
Best backpacking backpacks under $100: large-capacity 50L to 100L packs for multi-day trips, with honest notes on what this budget buys.
5 Best Backpacking Backpacks Under 150 in 2026
Best backpacking backpacks under $150: internal-frame 50L to 65L packs and lighter weekend options, compared on frame, torso fit and features.
5 Best Backpacks For Adventure Travel in 2026
Best backpacks for adventure travel: carry-on, expandable and packable packs that handle flights, day hikes and city streets in one bag.
5 Best Hiking Backpack For Women With Water Bladder in 2026
Best hiking backpacks with a water bladder for women: unisex 15L to 25L hydration packs with 2L or 3L reservoirs, compared on fit and storage.
6 Best Packable Backpack For Laptop in 2026
Best packable backpacks for a laptop: foldable daypacks compared on laptop sleeve, stowed size and weight, with honest notes on which carry a computer.
Keep reading