
Practical Camping Guide · 13 min read
How to Size a Hiking Backpack to Your Torso
Measure your torso from C7 to your hip bones, read pack size charts and check hip belt, shoulder strap and load lifter fit with a loaded pack.

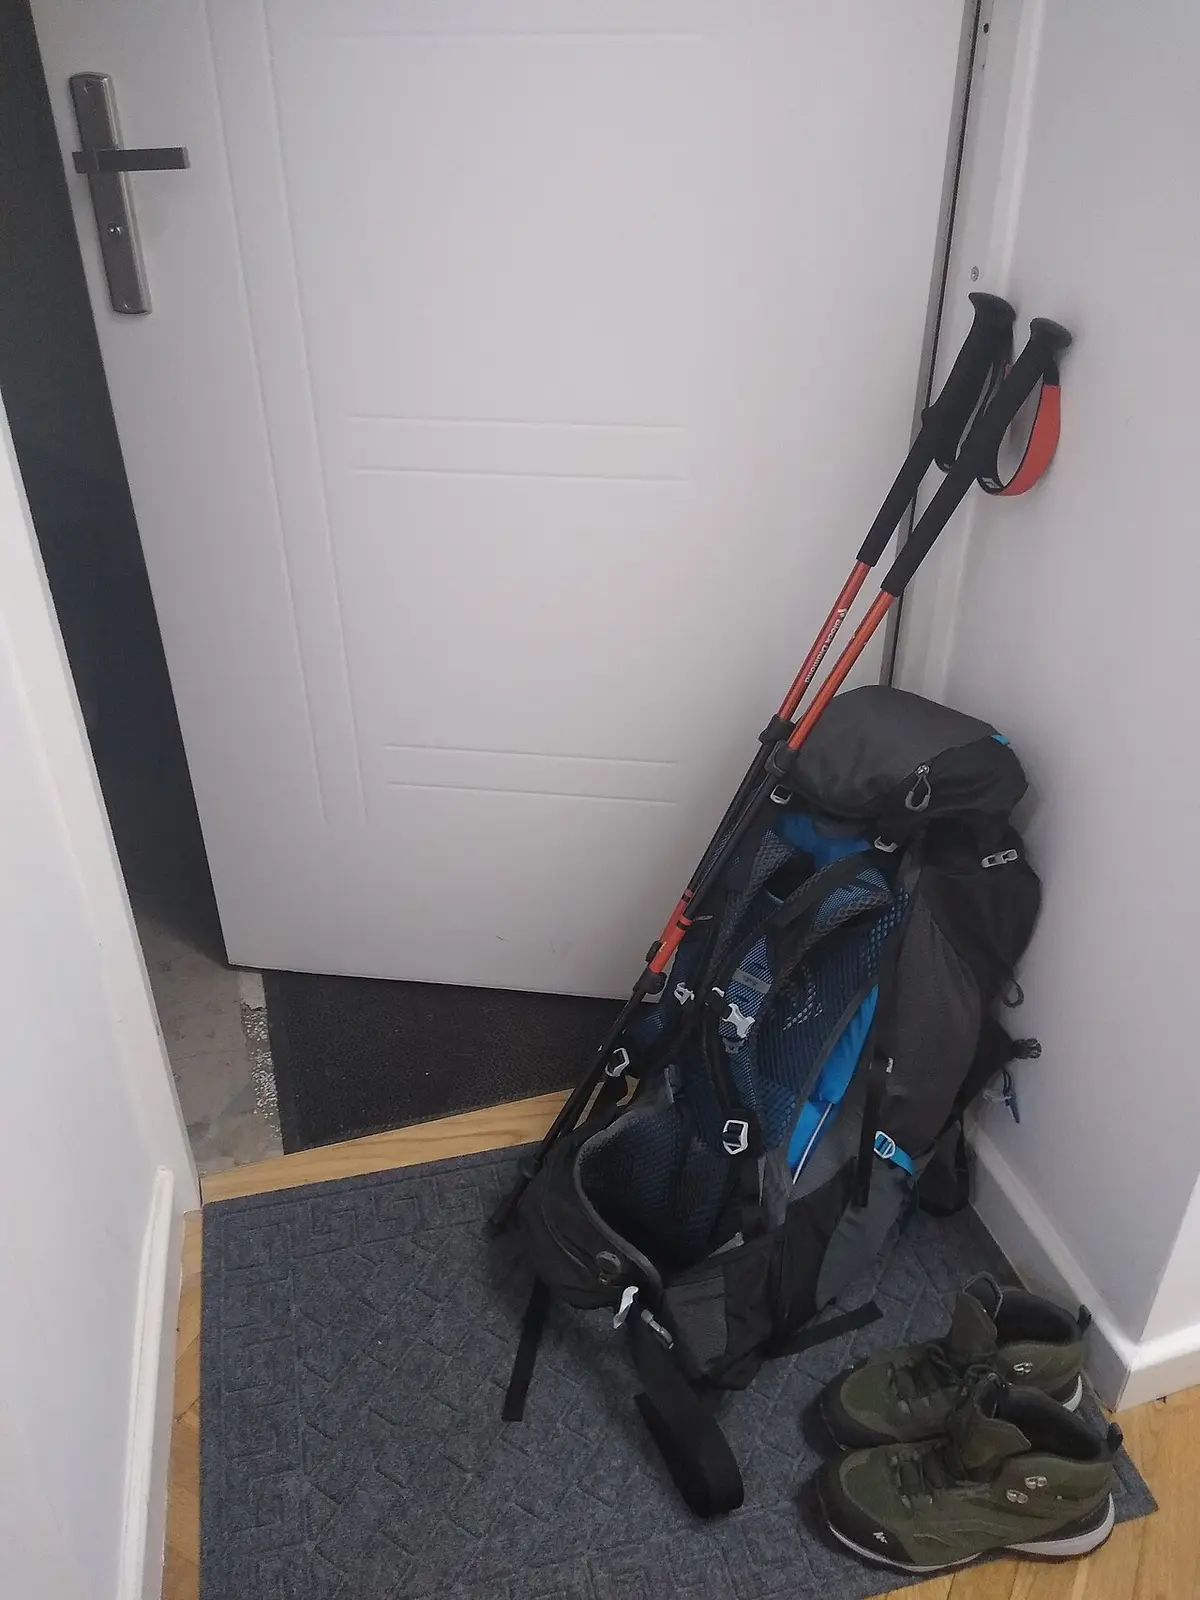
Size a hiking backpack by your torso length, not your height. Measure from the bony bump at the base of your neck (the C7 vertebra) down your spine to the line between the top of your hip bones (the iliac crest), then choose the pack size whose listed torso range includes that number. Check that the hip belt sits on your hip bones, not your waist, that the shoulder straps wrap over your shoulders without gaps and that the load lifter straps angle up and back at roughly 45 degrees.
A well-fitted pack moves most of its weight onto your hips, which are built to carry load, and leaves your shoulders to stabilize it. A poorly fitted pack hangs from your shoulders, bruises collarbones, strains your back and makes every mile longer. Because pack sizes are named by manufacturers in different ways, the letters on a tag (S, M, L) tell you little unless you know your measurements. This guide shows how to measure your torso and hips, how to read size charts, how to adjust a pack for fit, what to check while loaded, how fit differs for women, kids and larger bodies and how to avoid common mistakes.
Why torso length matters more than height
A pack rests on your torso, the section of your spine between your shoulders and hips. People of the same height can have very different torso lengths, depending on leg length. A pack that is too long puts the hip belt on your waist or lower ribs and the weight on your shoulders. A pack that is too short places the belt too low, over your buttocks, and leaves the shoulder straps pulling the pack backward. Torso length determines where the hip belt and the shoulder harness fall, and it is the main measurement manufacturers use.
Hip circumference is the second measurement, because a hip belt must wrap your hips snugly and its padding must reach around your hip bones. Belts come in different lengths or are interchangeable on many packs. REI and other outfitters advise sizing a pack to torso length and hip size, not to height or weight.
How to measure your torso
You will need a soft tape measure and a helper.
- Find your C7 vertebra. Tilt your head forward and feel for the most prominent bump at the base of your neck, where the neck meets the shoulders.
- Locate your iliac crest. Place your hands on your hips with your thumbs pointing backward and your fingers forward, and find the top of your hip bones. Draw an imaginary line across your back between your thumbs.
- Measure along your spine. Have your helper measure from the C7 bump straight down the spine to the line between your thumbs. Stand upright and relaxed, not slouching.
- Record the number in inches or centimeters.
Do it twice and average the results. Measure while wearing the base layer you will hike in, since bulky clothing can distort the reading. Measure your hips by wrapping the tape around the top of your hip bones, where the belt will sit, not around the widest part of your hips or your waist.
Reading size charts
Torso ranges are typically given in a chart. A common pattern is as follows, though brands vary.
| Size | Torso length (approx.) |
|---|---|
| Extra small | Under 15.5 in (39 cm) |
| Small | 15.5 to 17.5 in (39 to 44 cm) |
| Medium | 17.5 to 19.5 in (44 to 50 cm) |
| Large | 19.5 to 21.5 in (50 to 55 cm) |
| Extra large | Over 21.5 in (55 cm) |
If you are between sizes, consider the pack's adjustability. Many packs have an adjustable torso length with a sliding harness, which lets you fine-tune the fit. Some brands offer different hip belts and shoulder straps, and women's and men's versions differ in shape and strap curvature. Check the manufacturer's chart for each pack, since the same letter size can be different from one brand to the next.
How a pack should fit when loaded
Try a pack with weight, because an empty pack tells you little. Most outfitters have sandbags to load it. Then check each part.
Hip belt. The center of the belt should sit over your iliac crest, with the padding wrapping around your hip bones. Buckle it and tighten until it is snug. When you let go of the shoulder straps, the pack should stay up on your hips. If the belt falls below your hips or rides up over your ribs, the pack size is wrong.
Shoulder straps. They should wrap over your shoulders and hug the curve with no gaps, and the straps should meet the pack about 1 to 2 inches below the top of your shoulders. If there is a gap between the strap and your shoulder, the pack is too long.
Load lifters. These small straps connect the top of the shoulder straps to the pack frame. They should angle up and back at about 45 degrees. If they are horizontal, the pack is too short, and if they point sharply upward, it is too long.
Sternum strap. It should sit across your chest, about an inch below your collarbone, snug but not tight.
Back panel. The pack should sit close to your back and not sway. Check that the frame sits comfortably against your spine and that ventilation channels do not press.
Walk around the store, climb stairs and lean forward and sideways. The pack should move with you.
Fitting steps in order
- Loosen all straps. Put on the loaded pack and place the hip belt over your hip bones.
- Tighten the hip belt first so it carries most of the weight.
- Tighten the shoulder straps until they hold the pack close, without lifting it off your hips.
- Adjust the load lifters to bring the top of the pack toward you.
- Fasten the sternum strap and adjust it.
- Fine-tune the hip belt if needed and recheck.
- Walk for a few minutes, and adjust anything that rubs or pulls.
On the trail, readjust as the pack gets lighter, and loosen the hip belt on climbs if you need to breathe more deeply, retightening on descents.
Capacity and pack weight
Fit is separate from volume. Volume is measured in liters, and the right size depends on your trip length and gear; see the liter size guide for how to choose. Weight is separate again: a common guideline is to keep your loaded pack to about 20 percent of your body weight or less for comfort, and many backpackers aim for 20 to 25 percent at most. The more weight, the more important fit becomes. A pack with a stiffer frame and a better hip belt carries heavy loads more comfortably, and a lightweight frameless pack suits low weights.
Women's, kids' and plus-size fit
Women's packs have shorter torso ranges, narrower and more curved shoulder straps, and hip belts designed for wider hips. Many women fit well in a women's pack, and some prefer men's or unisex models, so try both. For children, pack fit is a challenge, because their torsos are short and they grow. Look for a kids' pack with an adjustable torso length and a small hip belt, and keep the load light, around 10 to 15 percent of body weight. See the best hiking backpack for kids and best hiking backpack for toddler lists for models designed for small bodies.
For larger bodies, look for extended-length hip belts and shoulder straps. Many brands offer plus-size belts, which are sold separately or as an option. A belt that does not close is a deal breaker, and a belt that is too small cannot carry load.
Day packs, travel packs and other types
The same principles apply across pack types, with some differences. Day packs often have no hip belt or only a light one, and their torso length range is broader. A lightweight daypack with a water bladder, as in the best lightweight hiking backpack with water bladder list, still benefits from a sternum strap. For multi-day use, see the best hiking backpacks under $100.
Travel packs and commuting packs vary. Some people use a wheeled travel pack, such as in the best lightweight travel backpack with wheels list, and a packable laptop backpack like those in the best packable backpack for laptop list for city use, where torso fit is less critical. Specialty packs such as the best running backpacks for commuting, the best ski backpack for family, the best ski backpacks for kids and the best ski backpacks for resort have their own fit points, such as a snug chest strap, a short back panel and gear-carrying features.
Hydration and water on the pack
Water is the heaviest thing you will carry, at about 2.2 pounds per liter, so fit and load placement matter. A hydration bladder sits against your back in a sleeve, and a bottle sits in a side pocket where you can reach it. Weight distribution changes how the pack feels, and carrying treatment gear instead of extra water can save weight. For options, see water filter vs water purifier for camping, how to use water purification tablets and how to use a filter straw, which help you carry less water between sources.
Troubleshooting fit problems
Even a well-chosen pack can feel wrong, and most problems point to a specific cause. Use this table to diagnose what you feel.
| Symptom | Likely cause | Fix |
|---|---|---|
| Shoulders sore, bruised collarbones | Hip belt too loose or too low, pack too long | Tighten the hip belt first, check torso length, shorten the shoulder straps |
| Hip belt slides down | Belt too big or too low, wrong torso size | Retighten over the hip bones, try a smaller belt or a different size |
| Gap between strap and shoulder | Pack too long | Try a shorter torso size or adjust the harness |
| Pack sways side to side | Loose compression, unbalanced load | Cinch the compression straps and balance the load |
| Pack pulls backward | Weight too far from your spine, load lifters loose | Move heavy items closer to your back, tighten the load lifters |
| Lower back pain | Belt not carrying weight, hard back panel | Fix the belt position, adjust the torso length |
| Numb hands or arms | Shoulder straps too tight, pressure on nerves | Loosen the straps, shift weight to the hip belt |
| Chafing at hips | Belt rubbing on skin, seams | Wear a smooth base layer, adjust belt position, use tape or balm |
| Neck strain | Pack too tall or load lifters too tight | Lower the load or loosen the lifters |
Often the fix is a sequence: set the hip belt on the iliac crest and tighten it, then tighten the shoulder straps, then adjust the load lifters and sternum strap. If a symptom persists after adjustment, the pack may be the wrong size or shape, and a different model may fit better. Do not accept a bruising pack as normal.
Fitting the hip belt on different bodies
The hip belt is the most important part, and bodies vary. The belt should sit on the iliac crest, the shelf of your hip bones, with half the belt's width above and half below the bone. Some people have a high iliac crest and a short torso, others a low crest and a long torso. People with a narrow pelvis may find belts too wide, and people with wider hips may find belts that do not wrap far enough.
Women often need a belt with a tapered or angled shape that fits curved hips, and some women's packs offer a variety of sizes. Men with narrow hips may use women's belts. People with a soft abdomen need a belt that sits below the belly and rests on the bones, which can feel different from the waist. If the belt closes with an inch or two of strap left over, that is good, and if the padding almost meets in front, the belt is too big. Choose packs with interchangeable belts if you are between sizes. A bike shop or outfitter can often swap a belt in the store.
Trying packs in the store
Take your time. Bring a layer similar to the clothing you will hike in, and ask staff to load the pack with weights close to what you plan to carry, such as 20 to 30 pounds. Wear it for 15 to 20 minutes, walking up and down stairs and ramps. Adjust all the straps and re-check each fit point. Try several sizes of the same model if the shop has them, and compare with another brand. Notice how the pack moves when you turn, bend and step over obstacles.
Ask about the return policy, since a pack that feels good in the store may feel different after a day on the trail. Take a photo of the pack with the settings that worked, and note the torso length setting. If you are buying online, order from a retailer with easy returns, measure carefully, and test the pack at home with weight before you commit.
Day packs and fit
Day packs often have smaller frames or none, and fit matters less than in a loaded backpacking pack, but it still affects comfort. Check that the shoulder straps do not dig in, that the pack does not bounce, that a chest strap keeps the straps in place and that a hip belt, if present, sits on your hips. A simple daypack with a few liters of volume can feel fine on almost any torso length. For longer hikes, choose a daypack with a lightweight frame sheet and a small hip belt.
If you carry a hydration reservoir, check that the pack has a sleeve and a port and that the weight stays close to your back. Many day packs fit a smaller torso range than adult backpacking packs, so verify the range. People who are very short or very tall may need a youth or an extended size. A good day pack should be comfortable for hours, and the principles of fit apply even when you carry only a few pounds.
Fitting kids and teens
Kids' packs are a special case because bodies change. A child's torso is short, so the pack must be small with adjustable straps. Look for a pack with an adjustable torso length and a small hip belt that fits a narrow pelvis. Avoid hand-me-down adult packs, which sit too low and put the load on the shoulders. Limit the weight to about 10 to 15 percent of the child's body weight, and check fit regularly as they grow. Teens may fit adult sizes in extra small or small, and youth packs are available for older kids. If a teen has grown quickly, re-measure each season.
Putting it into practice: a ten-minute home fitting
You can check your pack's fit at home before a trip.
- Load the pack with the weight you plan to carry, using water bottles or books.
- Loosen all straps, put on the pack and tighten the hip belt over your hip bones.
- Tighten the shoulder straps until the pack hugs your back without lifting off your hips.
- Adjust the load lifters to about 45 degrees, and fasten the sternum strap.
- Walk around your house, climb stairs and bend forward and sideways.
- Note any pressure points, and fix them before the trip.
- Repeat after an hour, since fit changes as the pack settles.
This habit takes minutes and prevents most trail discomfort.
Related reading
Water is the heaviest thing most hikers carry, and treating it on the trail lets you carry less. What NSF/ANSI certifications mean on portable water filters explains how to read the claims on a filter before you commit to one for your pack.
Common mistakes to avoid
- Buying by height or letter size instead of measurements.
- Letting the hip belt ride on the waist.
- Loading the pack heavily without checking the fit.
- Ignoring the hip circumference.
- Over-tightening the shoulder straps and letting the belt slip.
- Skipping the load lifters.
- Not readjusting during the hike.
Frequently asked questions
How do I know what size backpack I need?
Measure your torso from the C7 vertebra to the line between your hip bones, and choose the size whose torso range includes your number. Then try the pack loaded and check the hip belt, shoulder straps and load lifters.
Does my height matter when buying a pack?
Not as much as your torso length. Two people of the same height can have different torso lengths. Use your torso measurement and hip size.
What if I am between sizes?
Choose a pack with an adjustable torso, or the size whose hip belt and shoulder straps fit best when loaded. A shop fitter can help you compare sizes.
Where should the hip belt sit?
Centered on your iliac crest, the top of your hip bones, with the padding wrapping around them. It should carry most of the weight and keep the pack from sliding.
Can I use a men's pack if I am a woman?
Yes, if it fits. Women's packs have shorter torsos and curved straps, but some women prefer men's or unisex packs. Try both, and choose by fit.
How heavy should my loaded pack be?
Many guidelines suggest about 20 percent of your body weight or less for comfort. Lighter is better, and fit matters more as weight increases.
Sources & further reading
Image credits
- "A backpack with trekking poles and shoes" by SGrabarczuk (WMF), CC BY-SA 4.0, via Wikimedia Commons.

Ready to buy?
Compare the gear: Packs & Hiking
5 Best Lightweight Travel Backpack With Wheels in 2026
Best travel backpacks with wheels: five rolling backpacks with hideaway straps and telescoping handles, with honest notes on weight and size.
6 Best Packable Backpack For Laptop in 2026
Best packable backpacks for a laptop: foldable daypacks compared on laptop sleeve, stowed size and weight, with honest notes on which carry a computer.
6 Best Running Backpacks For Commuting in 2026
Best running backpacks for commuting: six hydration vests and chest packs that carry a phone, keys and a light layer on a run to work or home.
4 Best Ski Backpack For Family in 2026
Best ski backpacks for a family: a four-set ski carrier, a big boot pack and slim daypacks compared on carrying multiple skis, space and comfort.
4 Best Ski Backpacks For Kids in 2026
Best ski backpacks for kids: boot-pack backpacks with separate boot pockets, padded straps and helmet room, sized for young skiers and riders.
6 Best Ski Backpacks For Resort in 2026
Best ski backpacks for resort days: boot packs and slim ski daypacks compared on boot storage, helmet protection, carry options and capacity.
4 Best Travel Backpack For International Travel in 2026
Best travel backpacks for international trips: expandable carry-ons with hideaway straps, packing cubes and laptop sleeves for multi-week itineraries.
6 Best Travel Backpack For Women Personal Item in 2026
Best travel backpacks for women as a personal item: six under-seat bags compared on dimensions, weight, comfort and organization for budget flights.
Keep reading